
Essential Equipment for Grass Skiing
Before stepping onto a slope, make sure you have everything you need. The grasski package covers the skis themselves, but you will also need:
🥾 Ski Boots
Any standard alpine ski boot works well. Boots with walk/ski mode switches (touring, skialp, or telemark) may prevent the grass binding from closing properly. Hard snowboard boots have the same issue. Competitors choose the stiffest models available, since summer temperatures cause boots to flex more than in winter.
🎿 Ski Poles
Your regular winter poles are perfectly fine. No special equipment is needed.
🦺 Clothing & Protection
Always ski in long sleeves and long pants. Gloves are strongly recommended. A ski helmet (not a bicycle helmet) is mandatory. A spine/back protector is highly recommended, along with elbow and knee protectors similar to those used for rollerblading.
Understanding Grasski: How It Differs from Alpine Skiing
The turning behavior of grasski falls somewhere between inline skating and alpine skiing. A good mental reference is alpine Super-G skiing: both demand a certain minimum speed for turns to work properly. At low speeds, initiating a turn on grasski can be difficult, particularly on longer skis, which need more speed to bend into an arc but reward that speed with greater stability and smoother handling of uneven terrain.
| Grasski | Alpine Ski | |
|---|---|---|
| Friction type | Rolling (like wheels) | Sliding |
| Turn initiation | Tilt-based (track geometry) | Sidecut + edge pressure |
| Feel | Similar to inline skates | Edge-grip on snow |
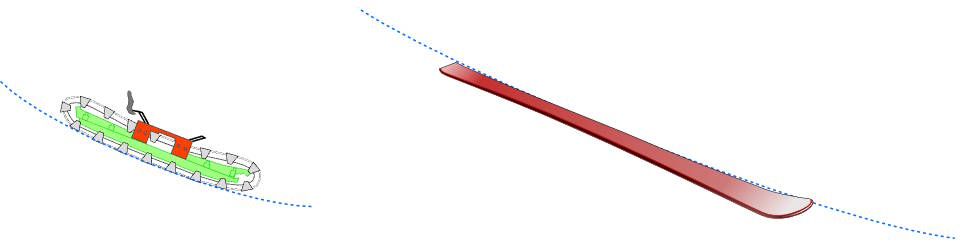
Because grasski use rolling friction through a track-shaped contact surface, the ski cannot slide sideways the way a snow ski can. This means there is no skidding, no hockey stop, and no easy correction if your ski points the wrong way. Every movement must be intentional and accurate.
Body Posture and Balance: The Foundation of Everything
Correct posture is more critical in grasski than in alpine skiing, and the margin for error is smaller.
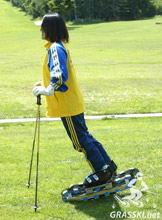
If your weight shifts too far forward, the skis become unstable and vibrate on the grass surface.
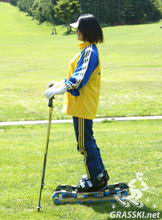
Center of gravity balanced over the ski, slight forward lean of the torso. Hands kept forward and in front of the hips to anchor balance.
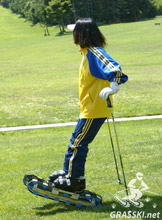
If your weight shifts too far back, you lose the ability to initiate turns entirely.
Proper Hand Position
Grasski are shorter than alpine skis, so upper body position has a proportionally bigger effect on balance. Keep your hands forward and in front of your hips — this actively stabilizes your center of gravity.
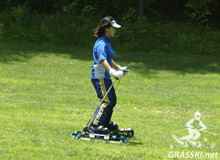
Hands too low/back
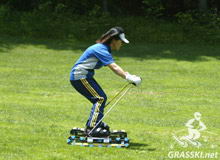
Correct hand position
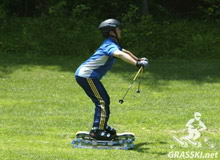
Hands too much forward with wrong back posture
Leg and Ski Position
Both skis must remain parallel and in contact with the ground through the entire arc. Lifting a ski, crossing skis inward (knee-to-knee), or letting skis collide are the most common causes of falls. Keep a consistent lateral gap between your skis at all times.
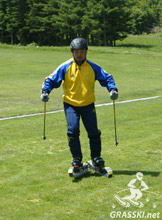
Ski lifted — incorrect
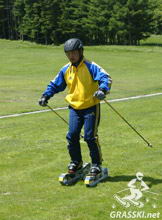
Correct parallel position
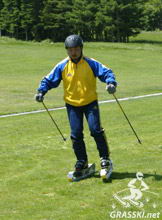
Ski lifted — incorrect
Before the Slope: Balance Exercises on Flat Terrain
Before attempting any descent, spend time on flat ground building the motor memory that grasski demands. These five exercises are performed on flat terrain — ideally at the run-out of a gentle slope. Do them in order; each builds on the previous one.
1 — Basic Stance
Stand upright but relaxed — not rigid. Slight bend at both knees and hips. Look forward, not down at your boot tips. Arms slightly forward and bent at the elbows. This is the foundation every other movement returns to.
2 — Forward & Backward Lean
From the basic stance, shift weight onto your toes — feel the ski tips press down. Then shift back onto your heels. Keep your arms forward throughout. Learn where "neutral" sits between these two extremes.
3 — Scooter Push-Off
With one ski on and one foot free, push off like a scooter. Alternate sides. This builds single-leg balance and the feel of a ski gliding beneath you — essential before both skis are on. Note: binding height means the free foot sits lower than the ski foot.
4 — Knee, Toe & Heel Touches
With both skis on, touch your knees, then your toe caps, then your heels — one at a time — while holding basic posture throughout. Each touch shifts your centre of gravity slightly; notice how the ski responds.
5 — Lateral Reach
The most challenging flat exercise. Reach one arm down toward the side of your boot while the opposite arm counterbalances. Alternate sides. This trains the lateral weight transfer you will use in every turn.
Straight Run Progressions
All variations use a gentle slope that transitions smoothly to flat terrain. Master each before moving to the next — they build balance, confidence, and the precise body control that turns require.
| # | Exercise | What it trains |
|---|---|---|
| 1 | Straight run with squats — adopt basic stance, then repeatedly squat while moving until you stop naturally. | Dynamic balance, absorbing terrain |
| 2 | Knee / toe / heel touches — during the run, touch knees first, then toe caps, then heels in sequence. | Forward–backward weight awareness |
| 3 | Single-leg run — lift one ski off the ground after the start; hold until you stop. Alternate legs on each run. | Single-leg balance, lateral stability |
| 4 | Forward foot — extend one foot into a mild lunge position during the run. Alternate sides across separate runs. | Weight distribution, hip mobility |
| 5 | Obstacles — navigate low gates (duck under) and ski poles laid on the ground (two-footed jump over). | Reactive balance, coordination |
| 6 | Ball catching — instructor throws a ball during the run; athlete catches while maintaining basic skiing posture. | Hand–eye coordination, automatic posture |
Diagonal Traverse: The Missing Link
Traversing diagonally across a slope — skiing across the fall line rather than straight down it — is a critical step that is often skipped by beginners in a hurry to turn. On grasski it matters more than on snow: because the ski cannot slide sideways, the body must be correctly stacked over the edges from the very first cross-slope movement.
Traverse terrain: a gentle slope with a smooth transition to flat. No holes or irregularities. Practice each drill on both left and right traverses.
1 — Basic Traverse
Weight distributed equally across both skis. Lower ski presses its inside (uphill) edge into the slope; upper ski presses its outside (downhill) edge. The slope naturally holds you — do not fight it, work with it.
2 — Knee Into Slope
From the basic traverse, consciously press your downhill knee toward the slope. This increases edge angle on the lower ski and is the same movement you will use to initiate and hold every turn.
3 — Pelvis Compression ("Superman")
Press your outer (uphill) arm toward the slope while your inner arm points in the direction of travel. This drill isolates hip angulation — the same sideways tilt of the pelvis that carves every arc.
4 — Poles Away From Slope
Hold both poles at shoulder width with tips pointing upward, away from the slope. This forces upper body separation from the hill and builds the trunk inclination needed for clean carving.
5 — Lighten the Inner Ski
Lift the upper (inside) ski slightly off the ground during the traverse and hold it there for as long as possible. All your weight goes onto the lower ski's inside edge — this is the dominant edge in every carved turn.
6 — Kick-Off Steps
During the traverse, add intermittent push-off steps — brief weight transfers from ski to ski. This bridges the static traverse drills into dynamic movement, preparing you for the continuous weight shift of linked turns.
- Can you traverse both directions without your uphill ski sliding out?
- Can you hold the inner ski off the ground for the full traverse width?
- Does your upper body stay facing downhill while your knees angle into the slope?
Technical Progression: Step by Step
The following structure reflects the established teaching progression used by experienced grasski coaches. Whether you are a complete beginner or an alpine skier transferring your skills, working through these stages in order will build solid, sustainable technique.
Before worrying about turns, spend time simply moving on skis. This phase builds the motor memory needed for everything that follows:
- Walking with skis on flat terrain and gentle slopes (ladder steps, side steps)
- V-shaped uphill walking
- Straight downhill runs focusing on static and dynamic balance
- Direction changes from a standstill
- Skating movements to move around the slope and to/from the lift
Skating on grasski closely resembles cross-country skiing or roller skating. It trains balance, weight shift between legs, and the precise foot placement that grasski demands. Because the ski cannot slide sideways, every step must be accurate — there is no ability to correct by sliding. Practice skating at the bottom of the slope before attempting any descents.
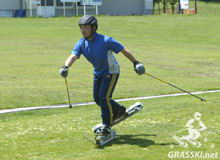
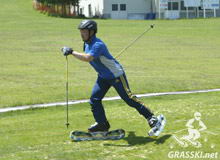
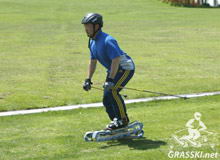
The first real turns use a wide, stable stance. This is not the snowplow technique from alpine skiing — it simply means a wider foot position to lower your center of gravity and increase control while learning.
How to approach your first turns:
- Start on the gentlest and widest section of the slope, not the top.
- Before going straight down, traverse the slope 2–3 times from side to side to find your balance and check your posture.
- To turn, gently roll your ankle and apply pressure to the outer/downhill ski (turning right = press on the left ski). Do not twist your body — let the ski geometry do the work.
- At low speeds, the ski may not respond immediately. Be patient. If nothing happens, check your posture — the most common cause is weight too far back.
- When the ski starts to arc, follow the curve toward the contour line to reduce speed.
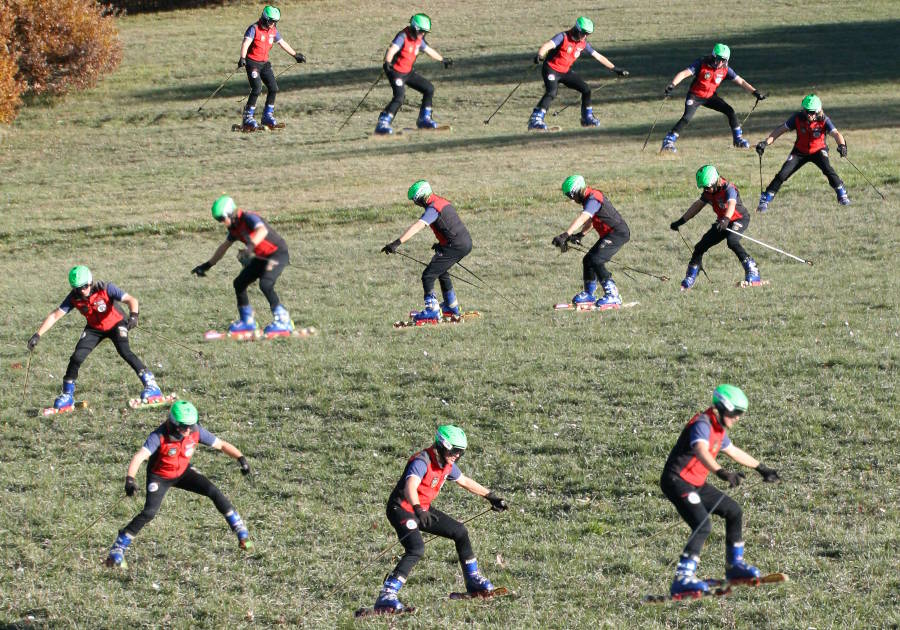
First turn practice sequence:
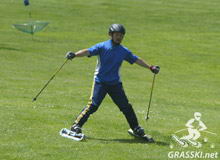
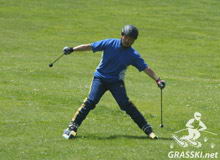
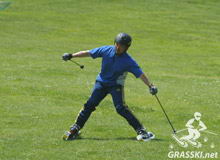
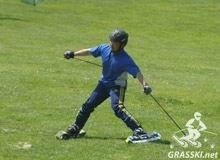
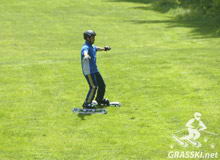
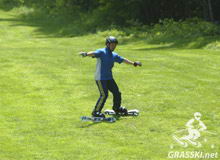
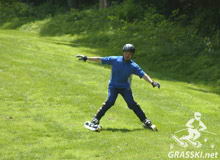
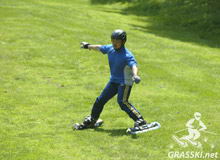
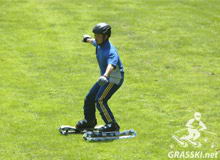
At this stage the wide stance narrows and turns become more dynamic and linked. The intermediate turn is characterized by four distinct phases:
Passive Diagonal
A brief traverse phase in balanced, neutral posture between turns.
Turn Initiation
Wide foot position, beginning the arc with a steering action (cingolo sterzata).
Turn Completion
After the fall line, feet draw closer together and the ski engages the ground more actively (cingolo presa).
Reset
The turn is closed, posture resets for the next arc in passive diagonal.
The cingolo presa is the key mechanical concept at this level. It refers to the combined forward-inward movement of the foot-knee axis and knee-hip axis, together with a micro-rotation of the foot (steering input), which allows the ski to grip the ground progressively through the arc. The torso maintains a downhill orientation throughout — an important grasski-specific principle called avanti valle (facing the valley).
Improving turn progression — sequence:
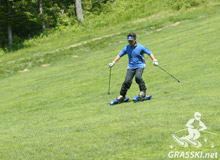
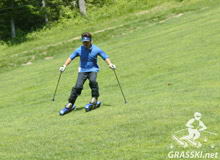
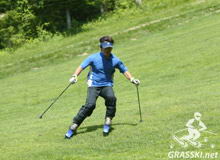
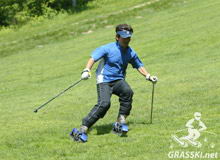
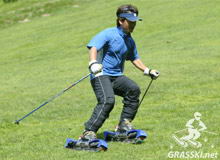
Increasing turn speed — sequence:
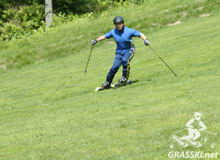
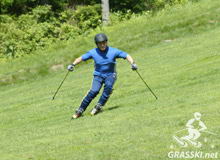
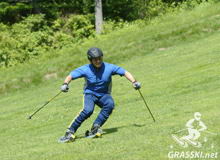
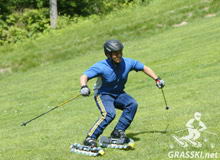
Advanced grasski technique centers on two interconnected movement patterns.
Cingolo Conduzione (Guided Tracking)
Uses the cingolo presa grip in combination with two fundamental paired movements through the arc:
- Extension + angulation in the first half of the turn
- Flexion + angulation in the second half
The foot's steering input (pilotaggio) initiates a slight oversteering of the track at the start of the arc, establishing the desired radius. From that point, the cingolo presa maintains precise tracking through the entire turn with consistent ground pressure. Extension and flexion are kept minimal and always combined with a forward weight shift.
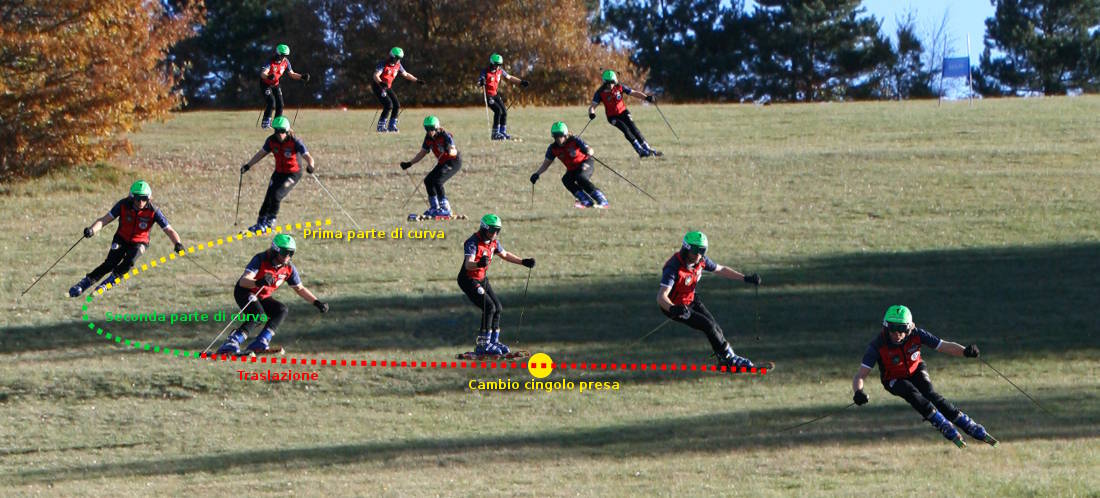
Binariamento (Rail Carving)
True carving on the track geometry emerges when the combined angulation/extension and angulation/flexion movements are executed with maximum angulation intensity and minimal extension. At this point, the ski's own geometry — the curvature of the wooden core within the track — guides the arc without any foot oversteering. The ski literally runs on rails.
Transitioning between turns requires a clean cambio presa (grip change): the pressure of the finishing turn is released, the body crosses over the skis, and the new grip is established before initiating the next arc. As the arc radius changes — from short slalom lines to wide giant slalom arcs — the geometric and motor transition points shift relative to the fall line accordingly.
Advanced carving sequence:
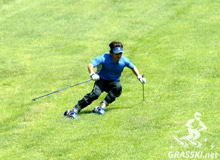
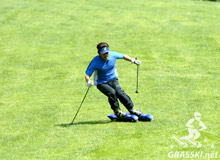
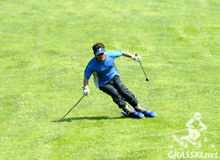
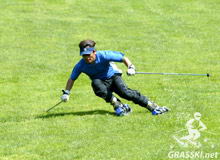
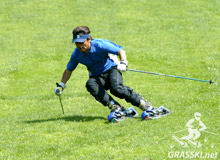
Navigating through turns — full sequence:
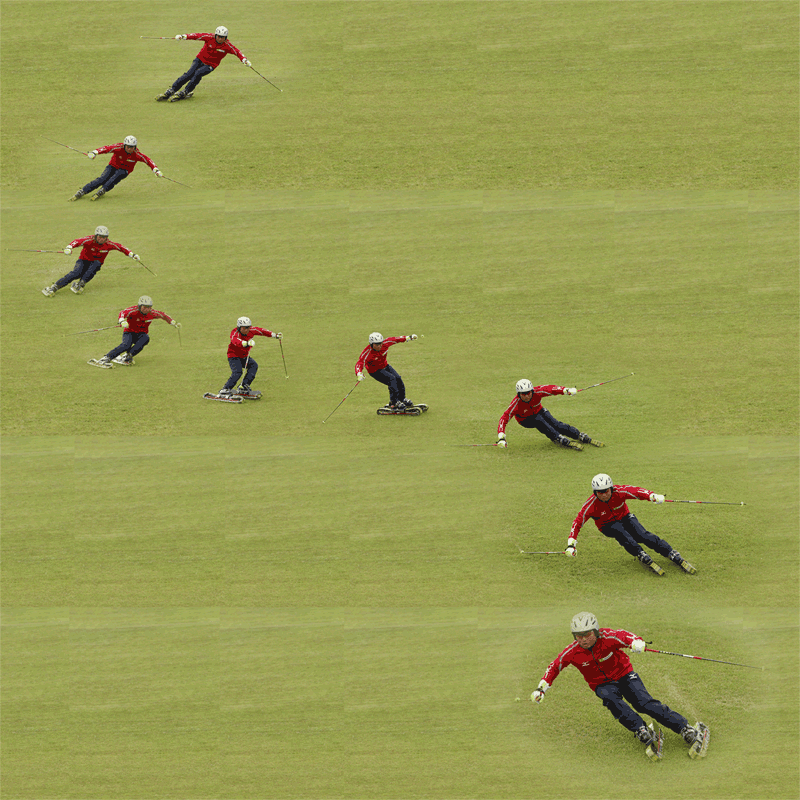
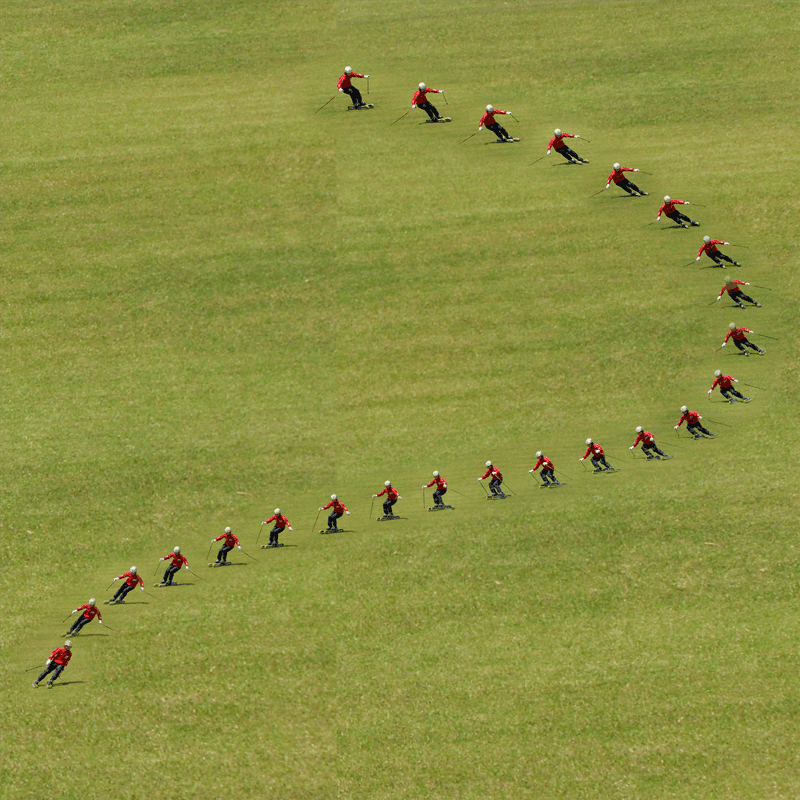
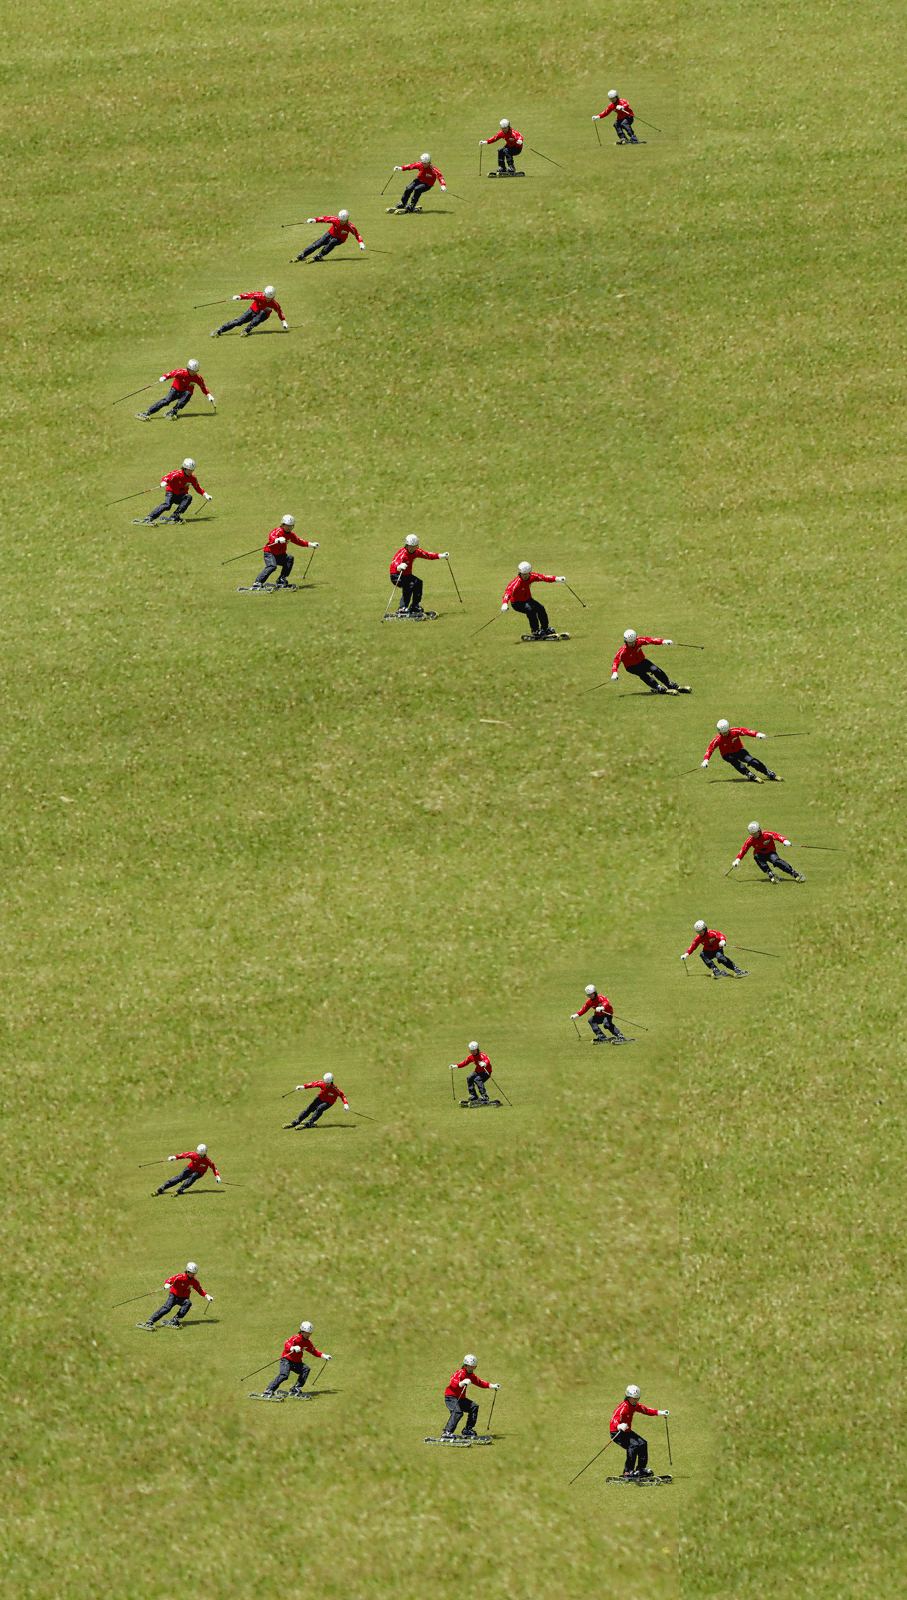
Parallel leg position in advanced carving:
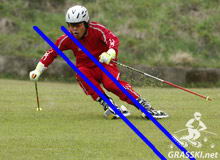
Legs and skis remain strictly parallel through the entire arc — knees never converge
For Competitors: Race-Specific Technique
| Discipline | Gate Spacing |
|---|---|
| Slalom | 8–12 metres |
| Giant Slalom | 18–25 metres kids, 24-30 metres adults |
| Carving | 8–14 metres |
Arc Shape & Speed Management
At higher speeds the grasski responds faster and the turning radius becomes more precise. Competitors minimize time spent in the fall line and maximize pressure through the arc's completion phase.
Strict Parallel Leg Position
Both legs and skis must remain parallel through every phase of the turn. Any deviation from parallel alignment creates resistance and reduces arc precision at race speed.
Weight Distribution
At race level: ~60% outer ski / ~40% inner ski throughout the entire arc. This balanced distribution improves stability on rough or variable terrain.
Upper Body Discipline
The upper body faces consistently downhill (avanti valle), while hip and knee angulation provide the arc angle. Rotating the upper body into the turn is one of the most common faults at competitive level.
Boot Stiffness
Competitors choose the stiffest available alpine boots. Higher summer temperatures reduce boot stiffness compared to winter — a stiffer boot transmits movement to the ski with greater precision.
Six Golden Rules to Always Keep in Mind
These rules apply from your very first run to competition racing — they never become irrelevant.
1 Clean Carving on Edges
Grasski cannot easily skid. Attempting to skid causes loss of control. Build every turn on a clean, edged arc with proper weight transfer.
2 Balanced Posture, Front to Back
The correct position is centered — never tilted too far forward (instability) or too far back (inability to turn). Keep your hands forward to anchor your balance point.
3 Tilt to Turn, Not Twist
Turning is initiated by tilting the ski onto its track edge, not by rotating your body into the turn. Think of how an inline skate initiates a turn through lean — grasski works on the same principle.
4 Build Speed Gradually
Turns are slower at lower speeds. As you gain experience and confidence, speed improves turn response and radius control. Do not rush this progression.
5 Keep Skis Apart and Parallel
Never let your skis touch each other. The plastic and metal elements on each ski can interlock and cause serious falls. Correct technique is the real protection.
6 Lubricate Before Every Session
Grasski require lubrication with ecological oil (chainsaw bar oil or equivalent) before each use. If the skis feel sluggish on terrain where they should not be, lubrication is usually the reason.