
Tools required — not included in delivery
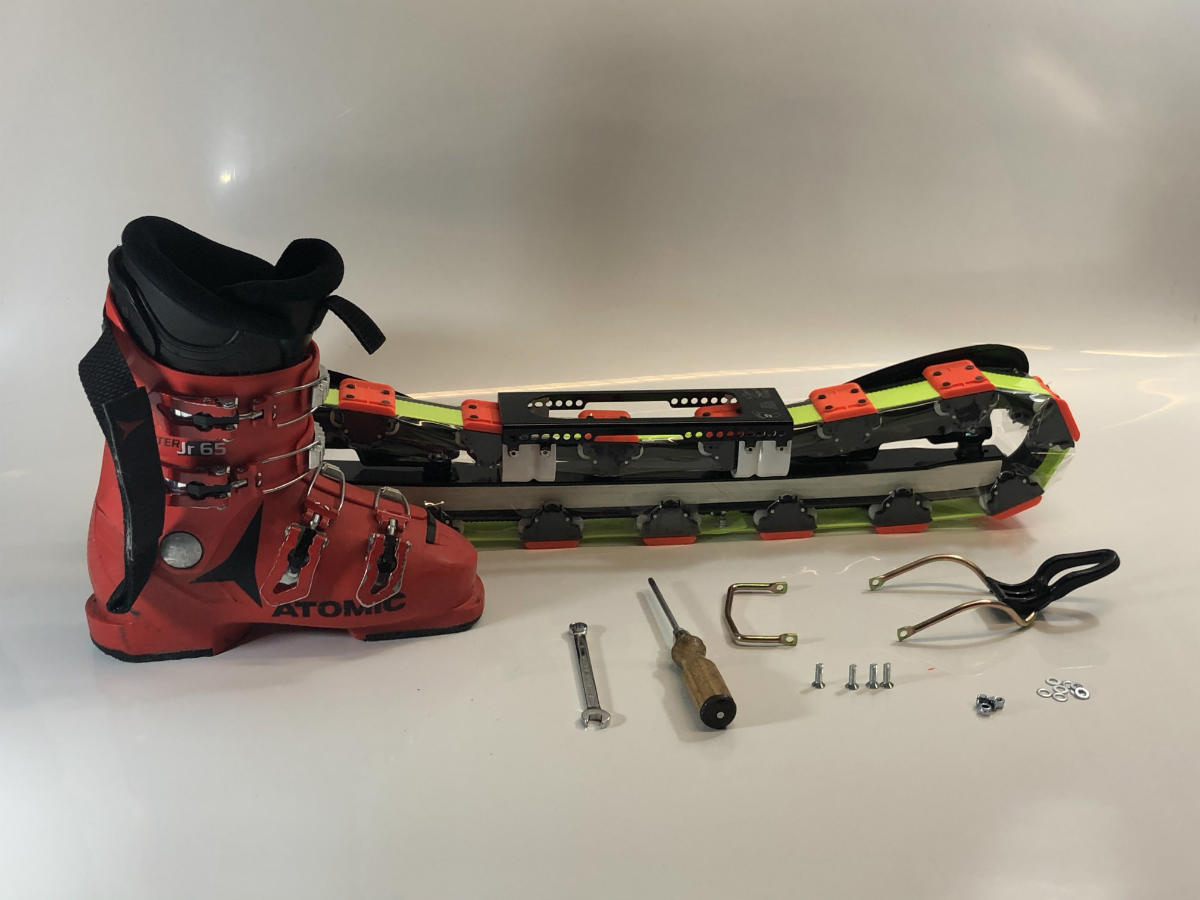
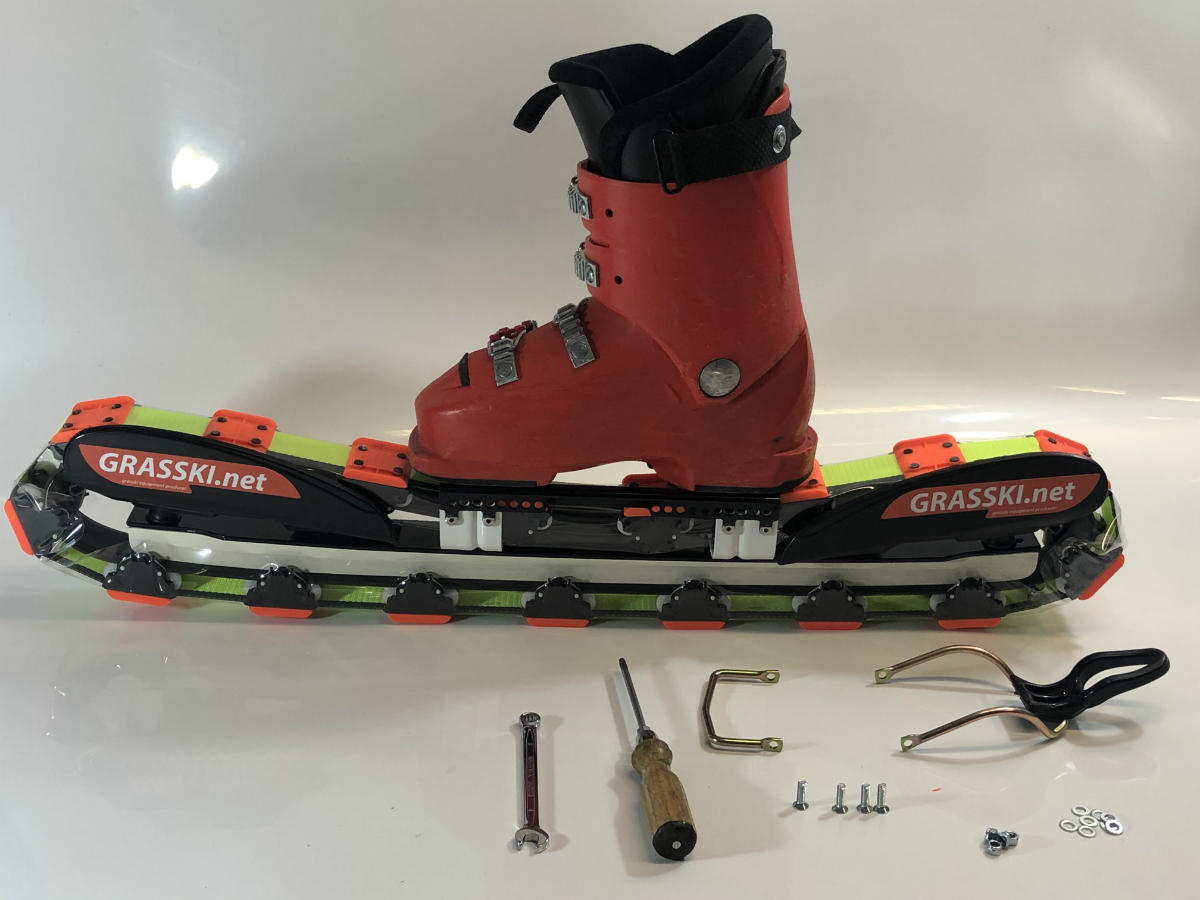
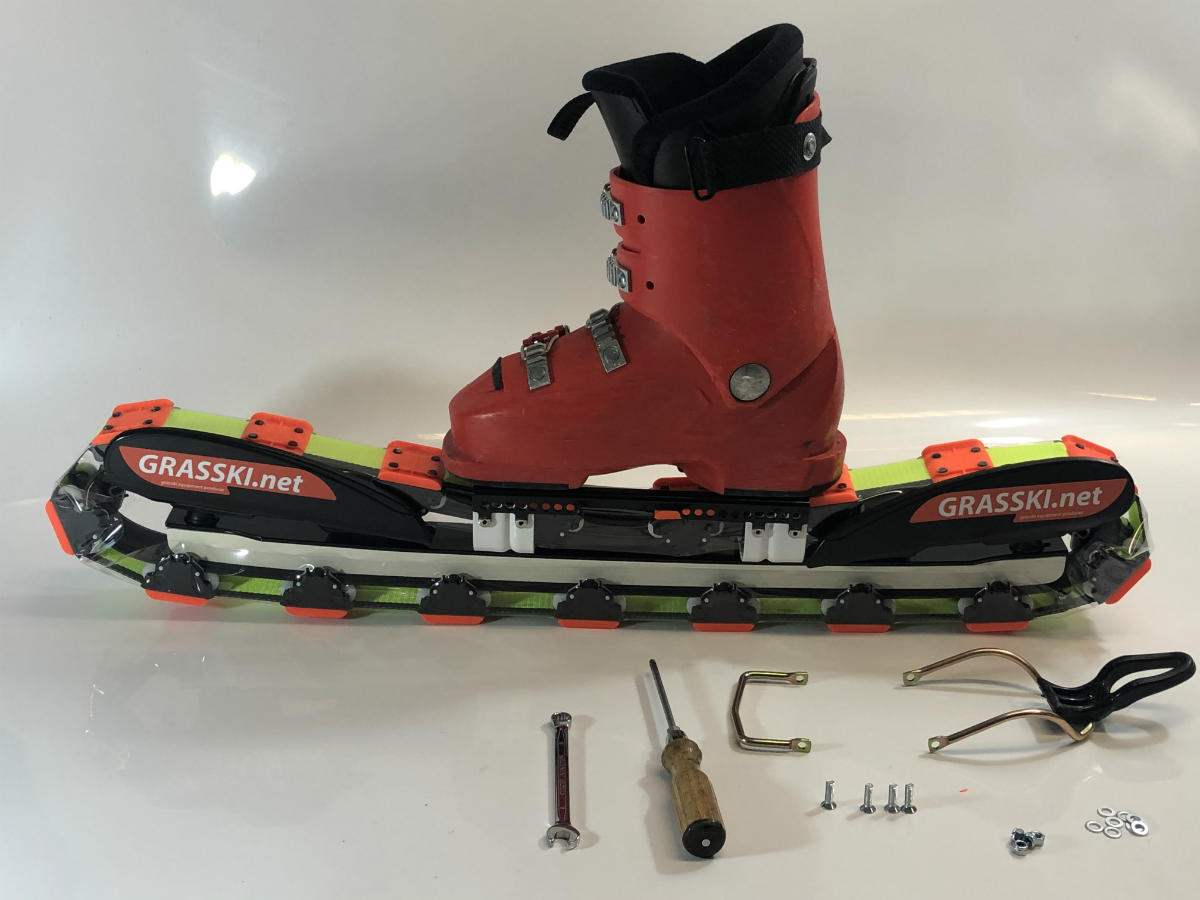
You will need a Phillips screwdriver (PH2) and an 8 mm hex key (Allen key) to mount the Race/Stars binding. Neither tool ships with the ski — have both ready before you start.
You will need a Phillips screwdriver (PH2) and an 8 mm hex key (Allen key) to mount the Race/Stars binding. Neither tool ships with the ski — have both ready before you start.
Phillips screwdriver
PH2 size, ideally magnetic tip — makes inserting screws inside the binding much easier 8 mm hex key (Allen key)
Used to tighten the binding nuts from outside the ski Step 1 — Find the correct boot position
Before touching a single screw, find the correct fore-aft position of your boot on the ski. Getting this right is the most important part of the whole assembly — a boot mounted too far forward or too far back will noticeably affect how the ski turns.
Maximum allowed offset: 8 mm from centre
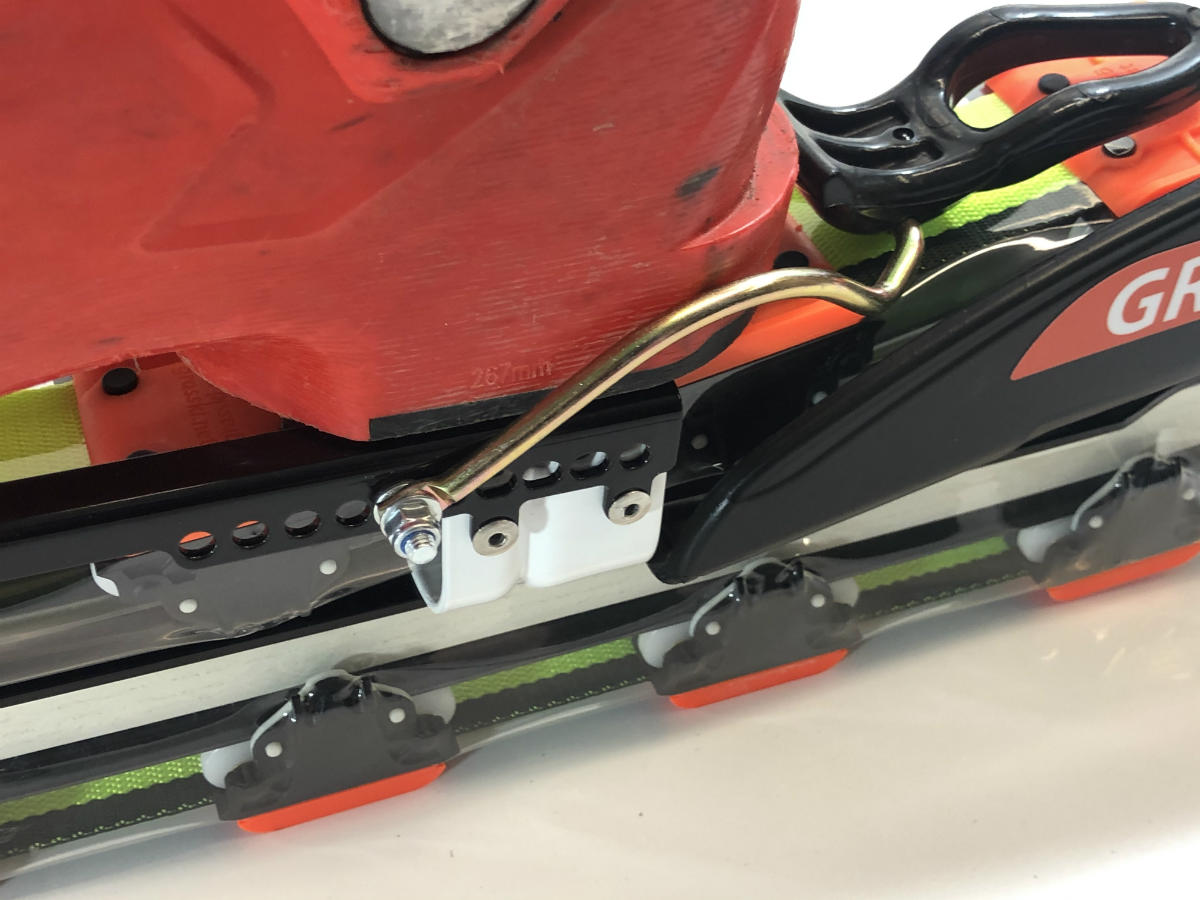
Place your boot in the binding and find the natural centred position. You may shift it up to 8 mm forward or backward to fine-tune, but no more. Mark the position before you start screwing.
Place your boot in the binding and find the natural centred position. You may shift it up to 8 mm forward or backward to fine-tune, but no more. Mark the position before you start screwing.
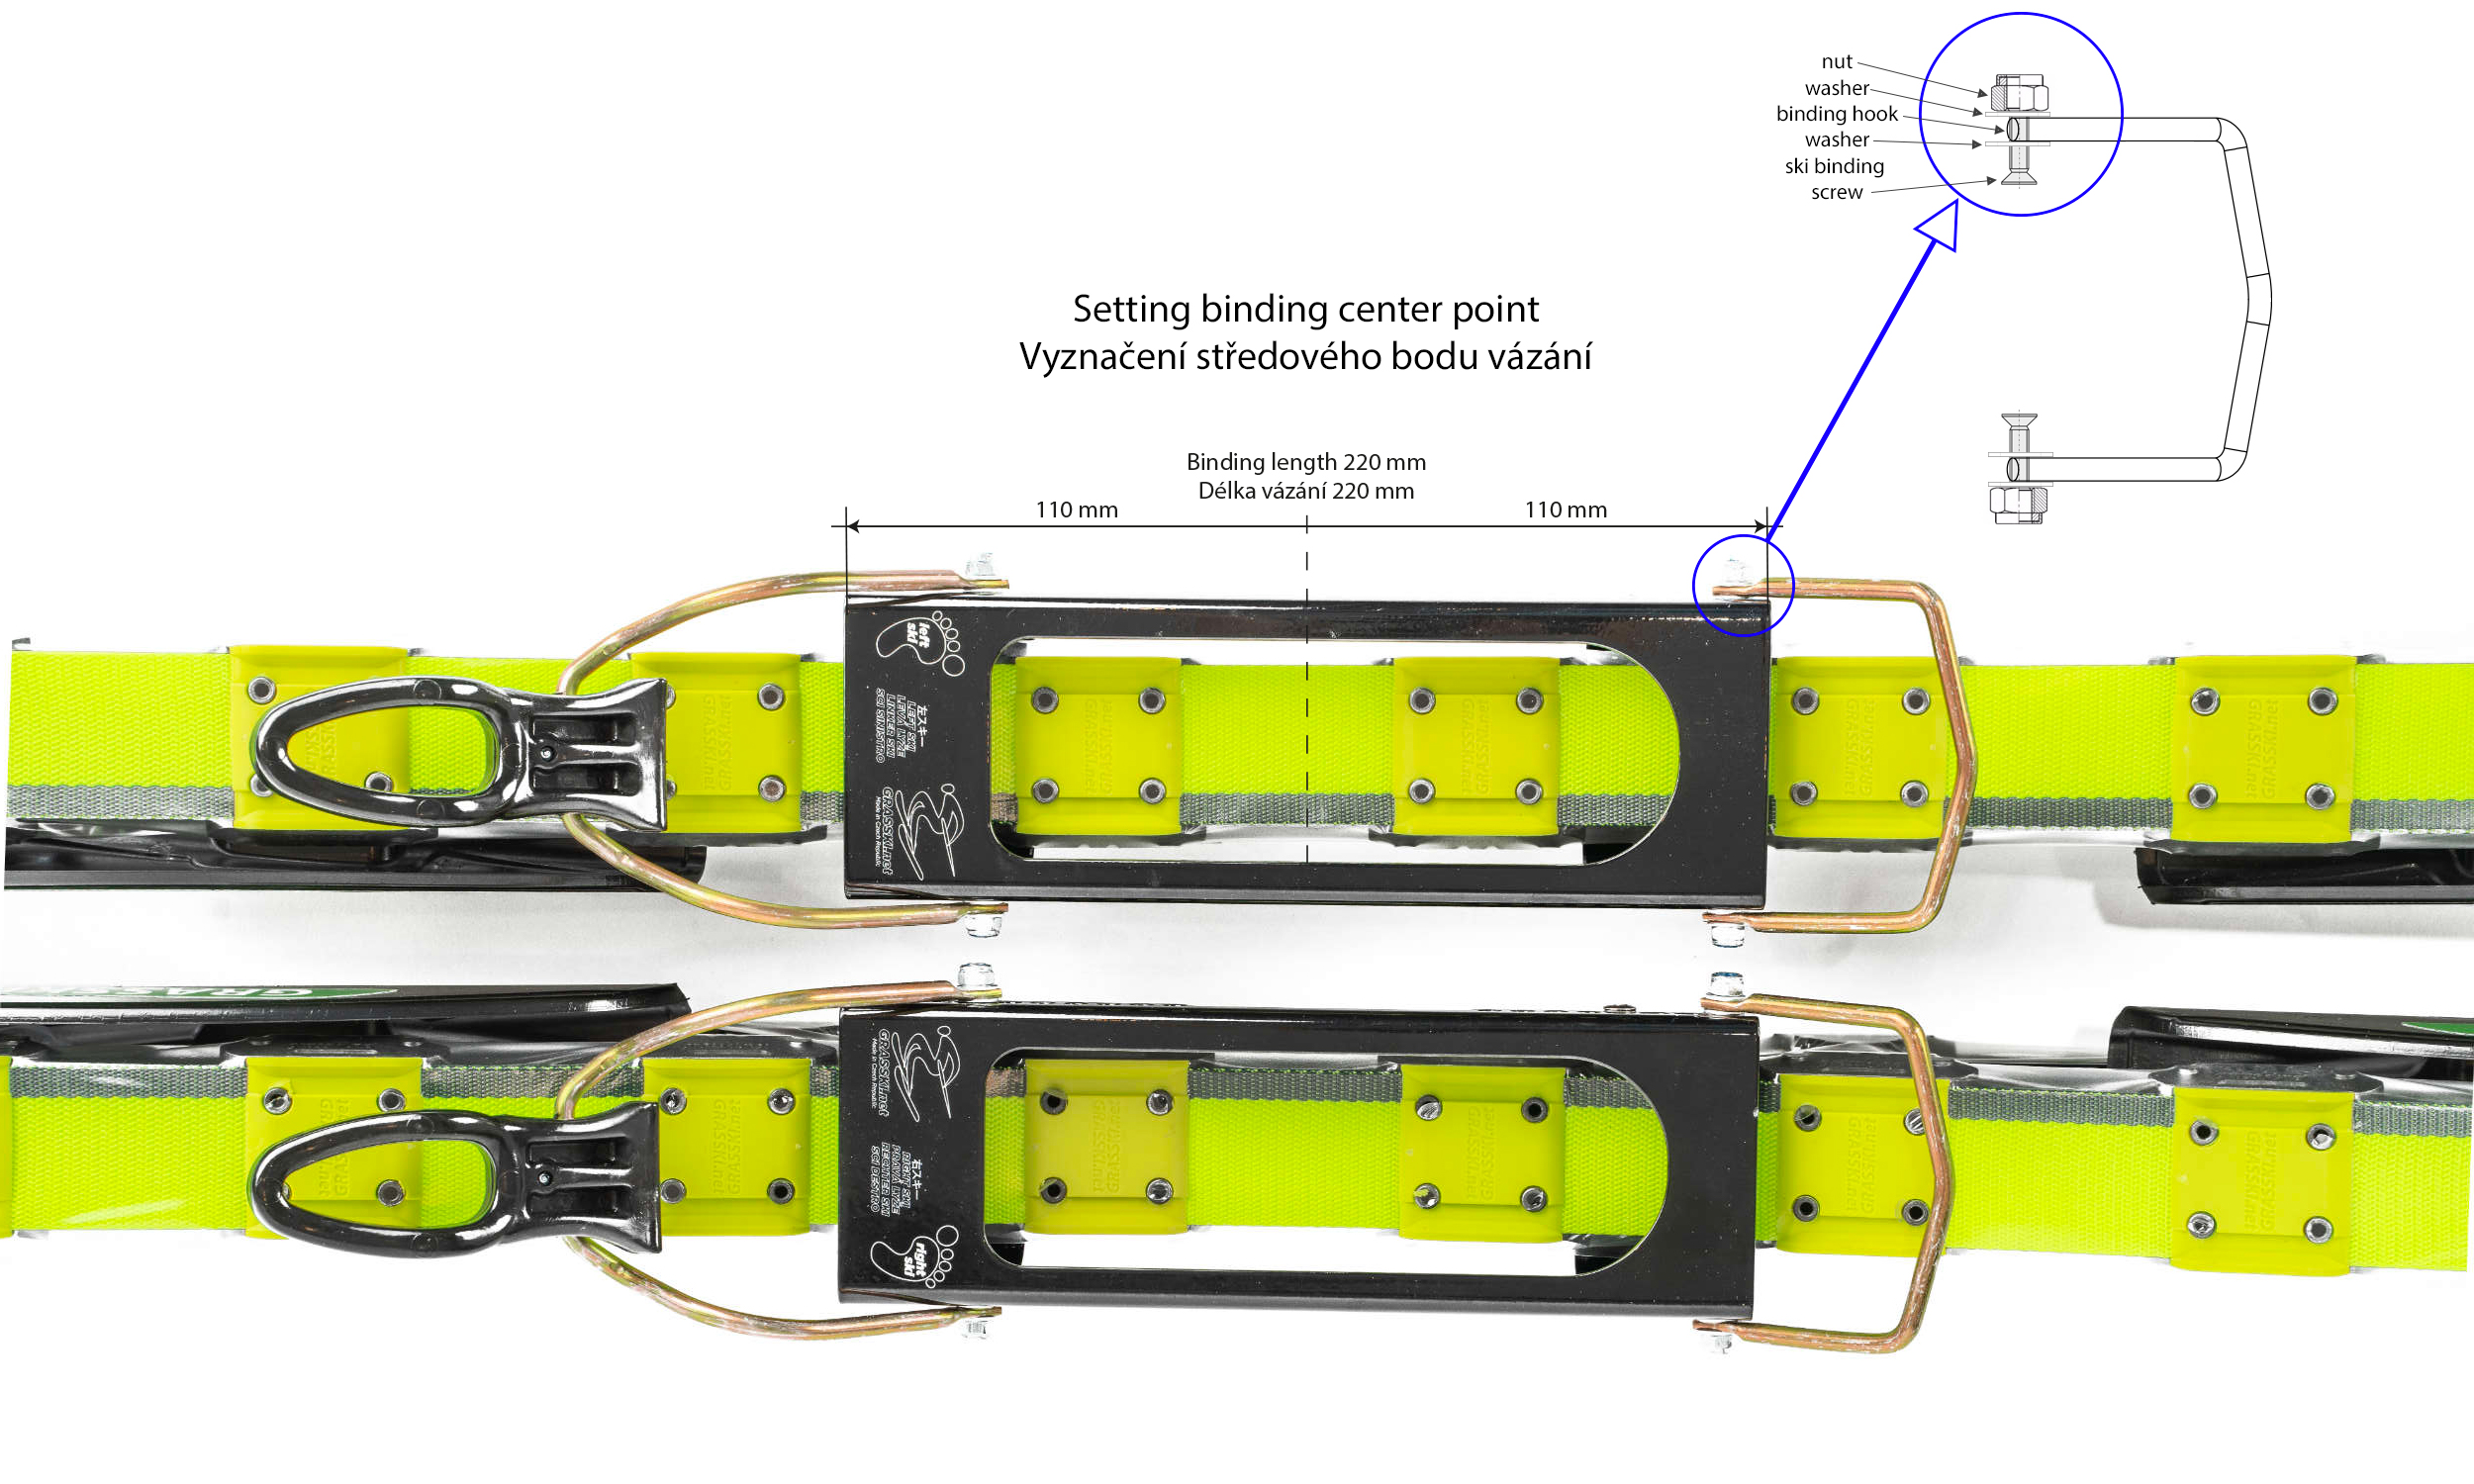
Step 2 — Mount the binding hooks
1
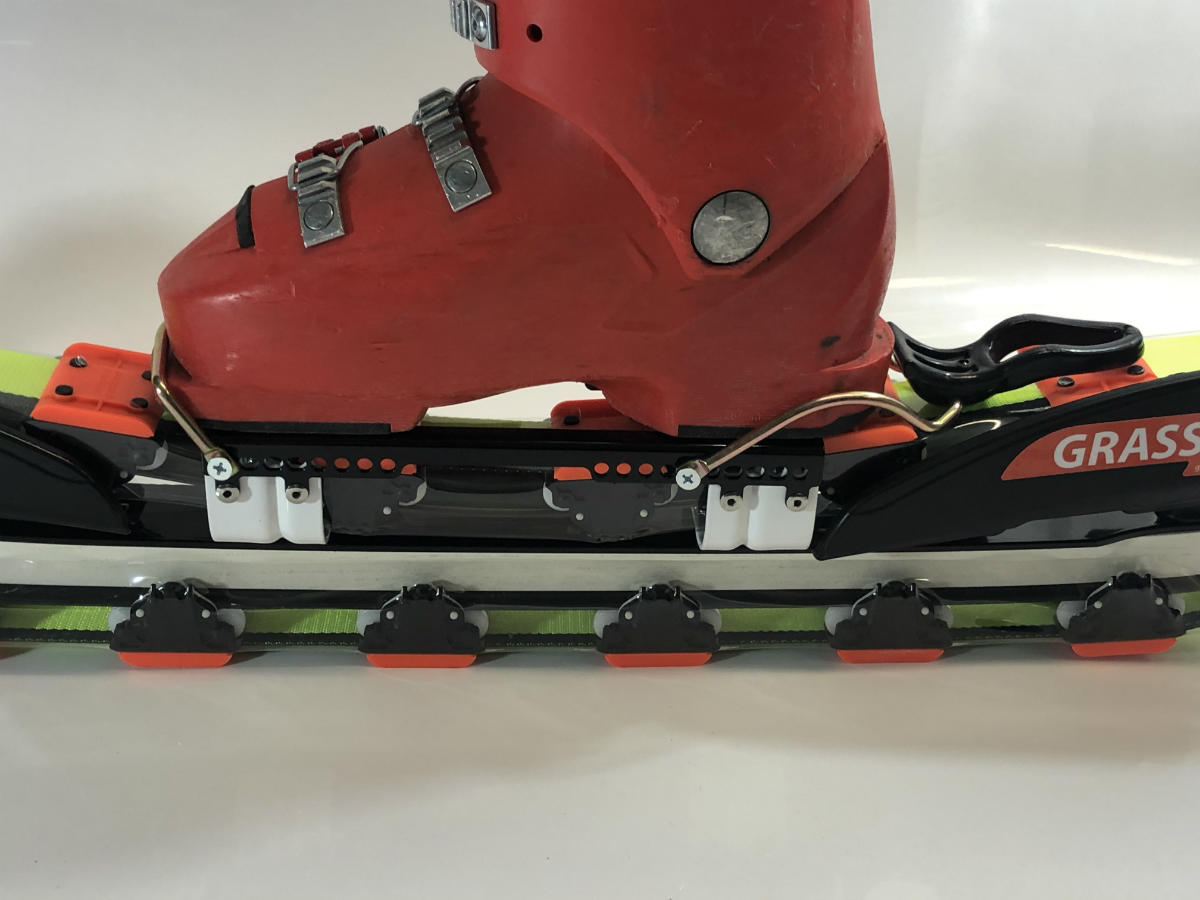
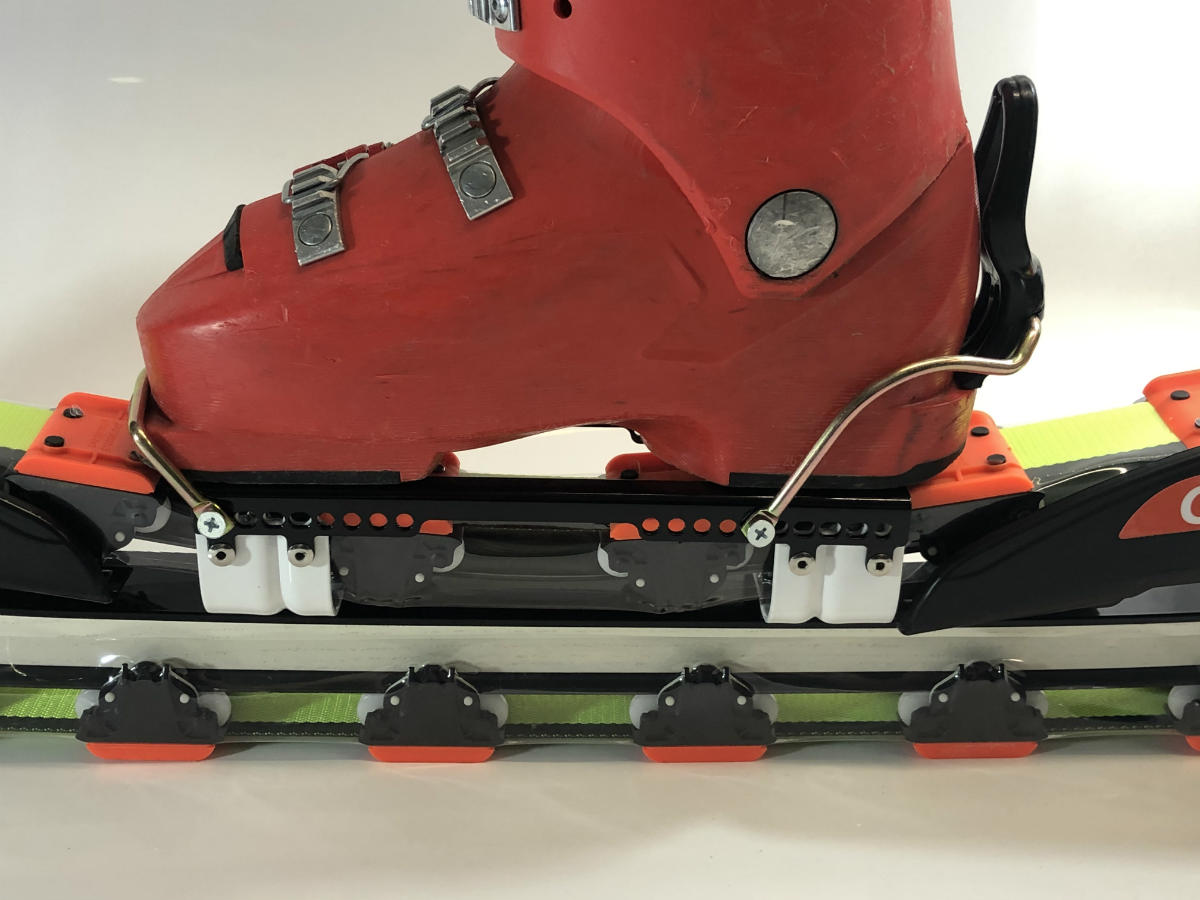
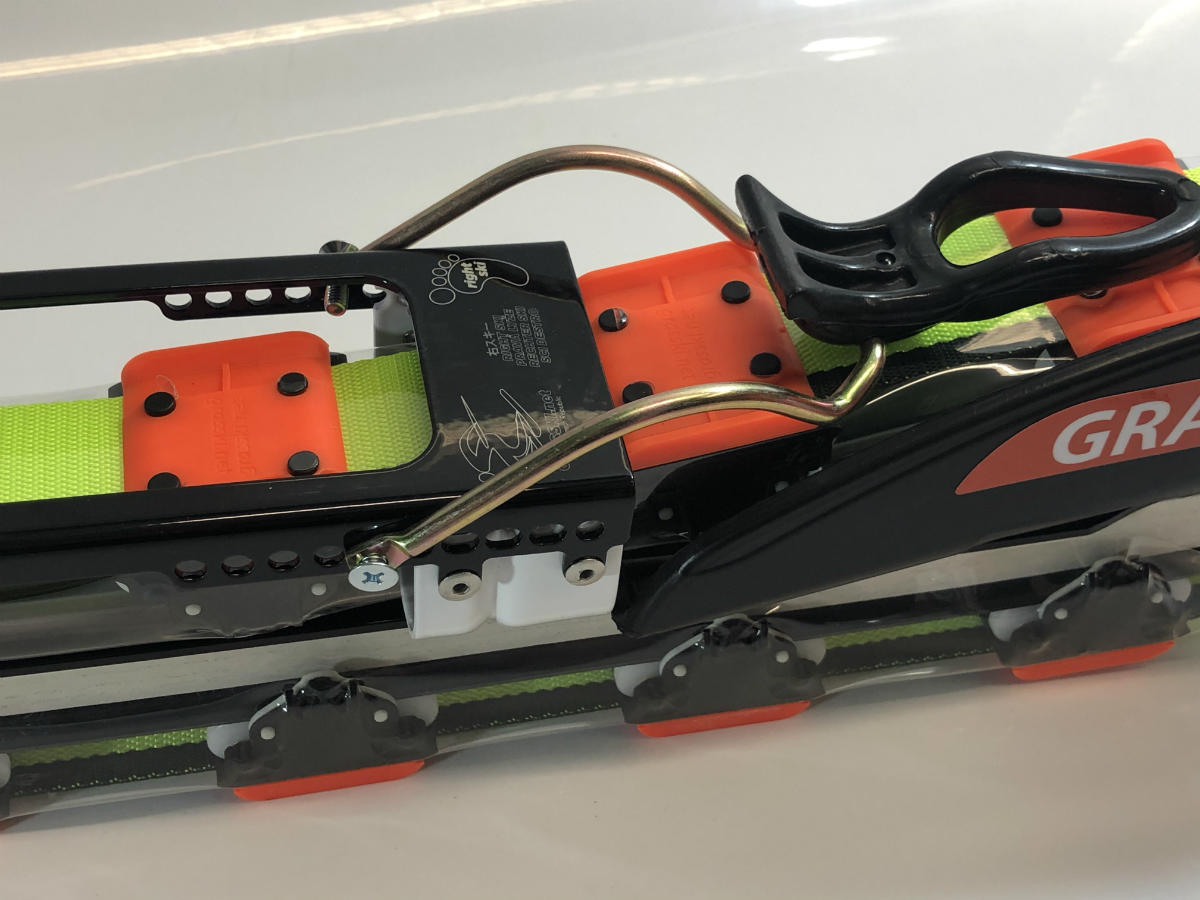
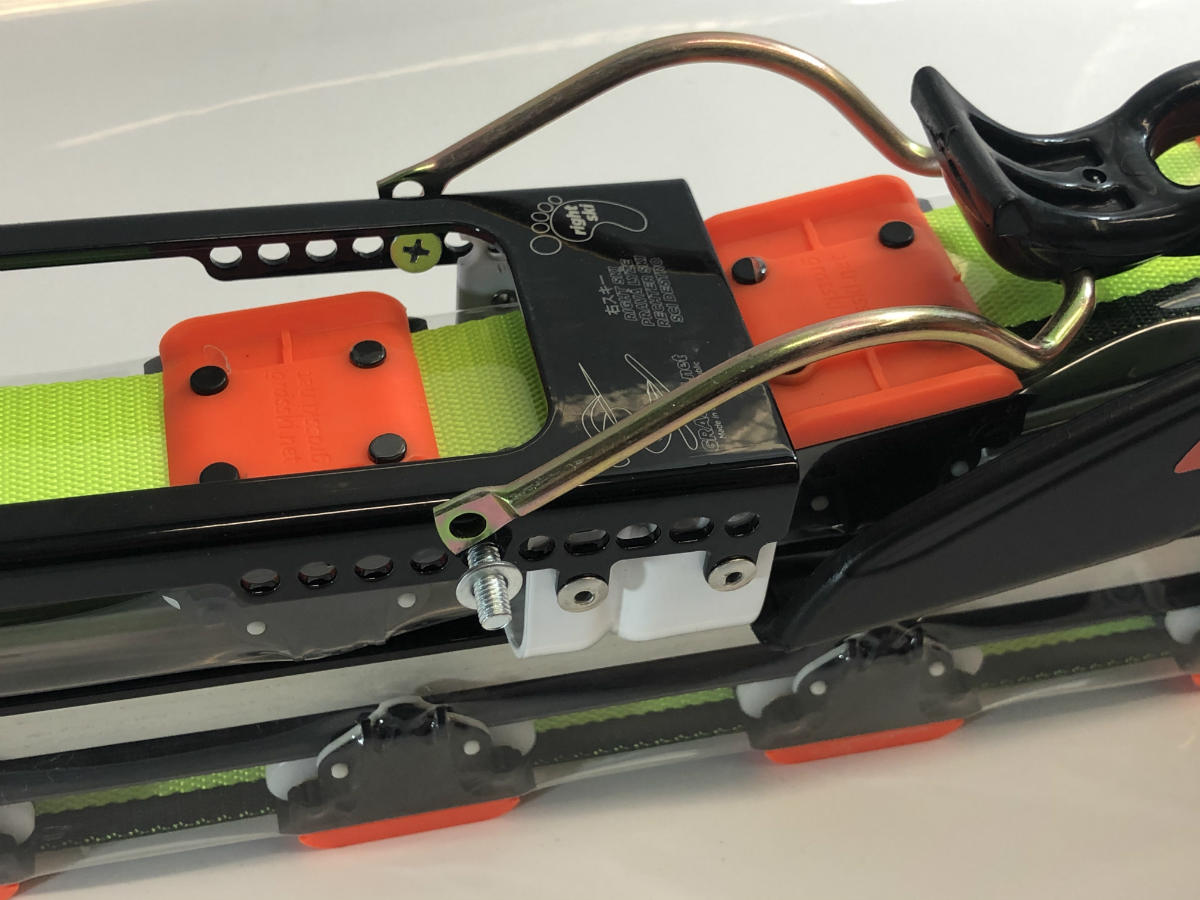
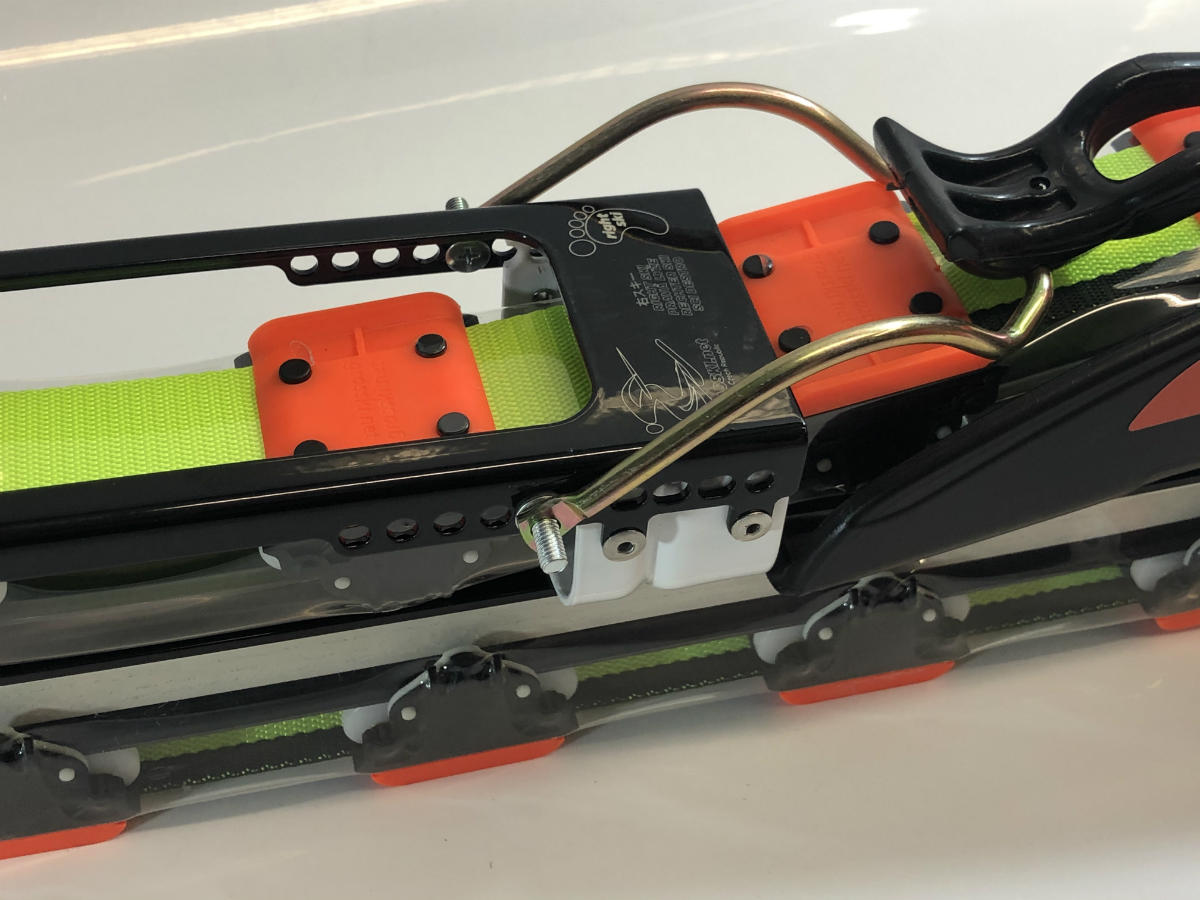
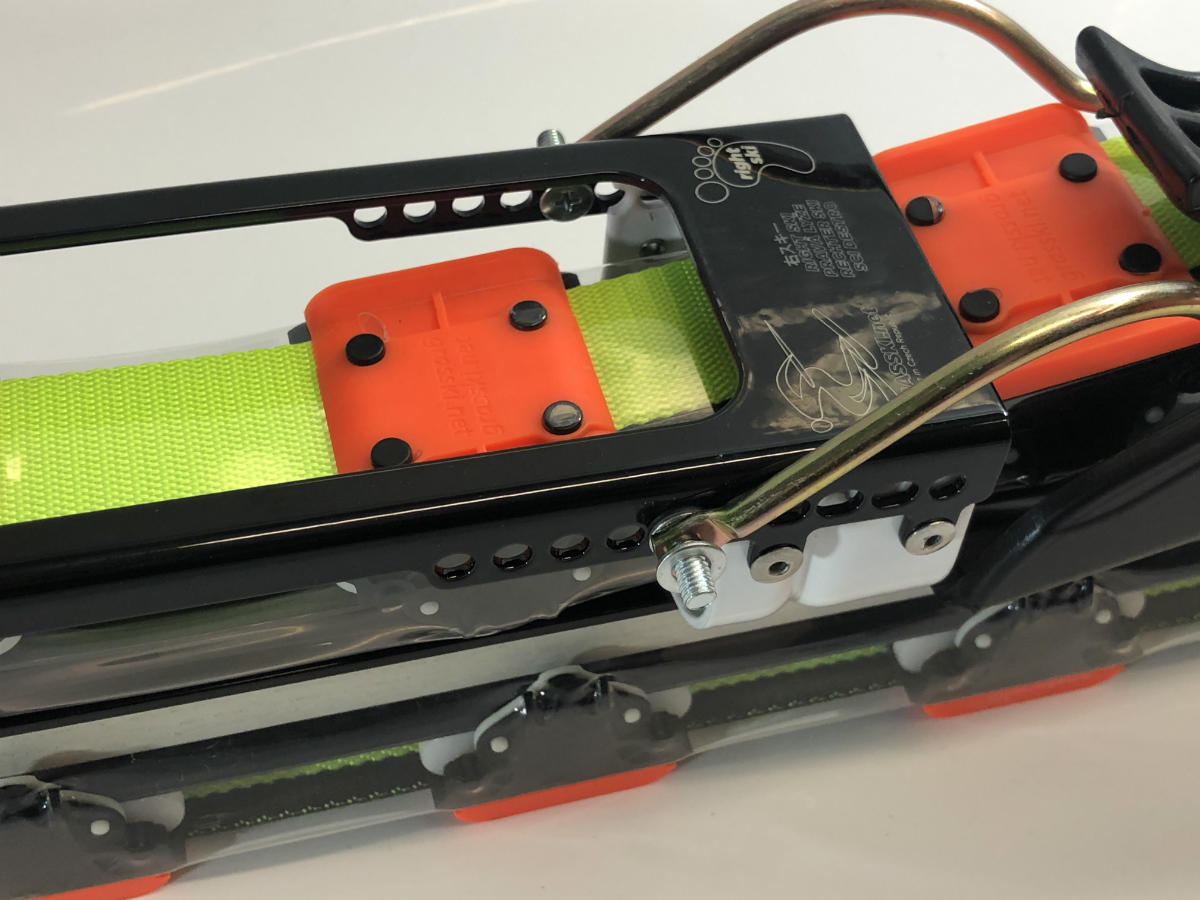
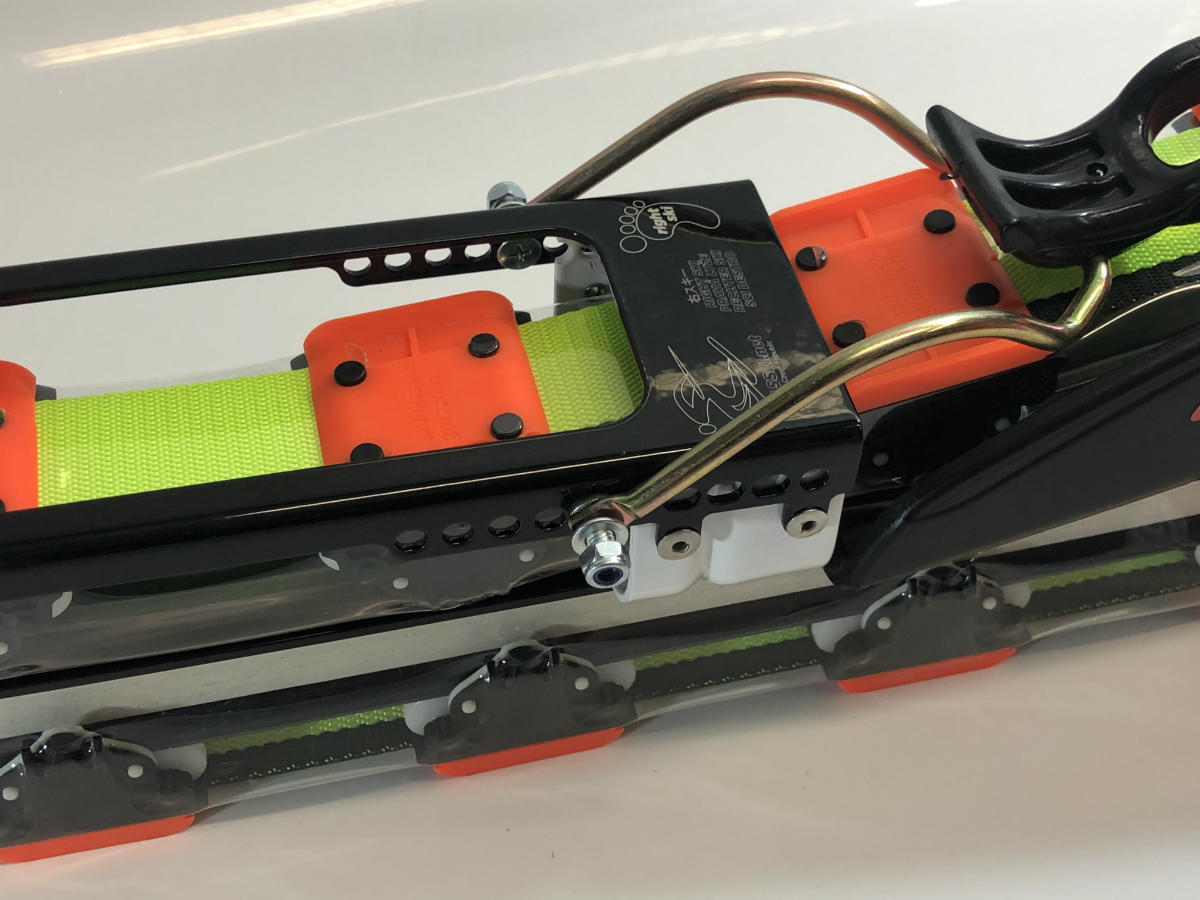
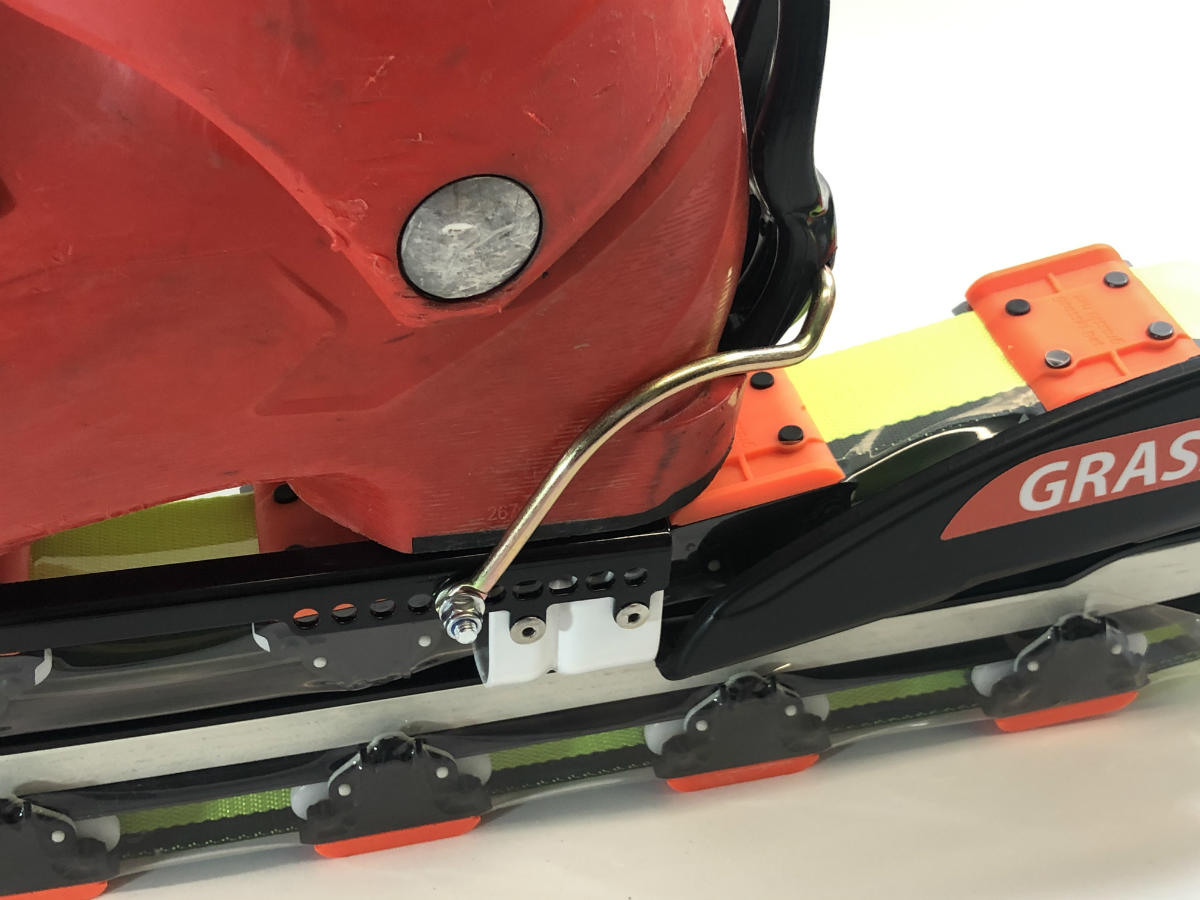
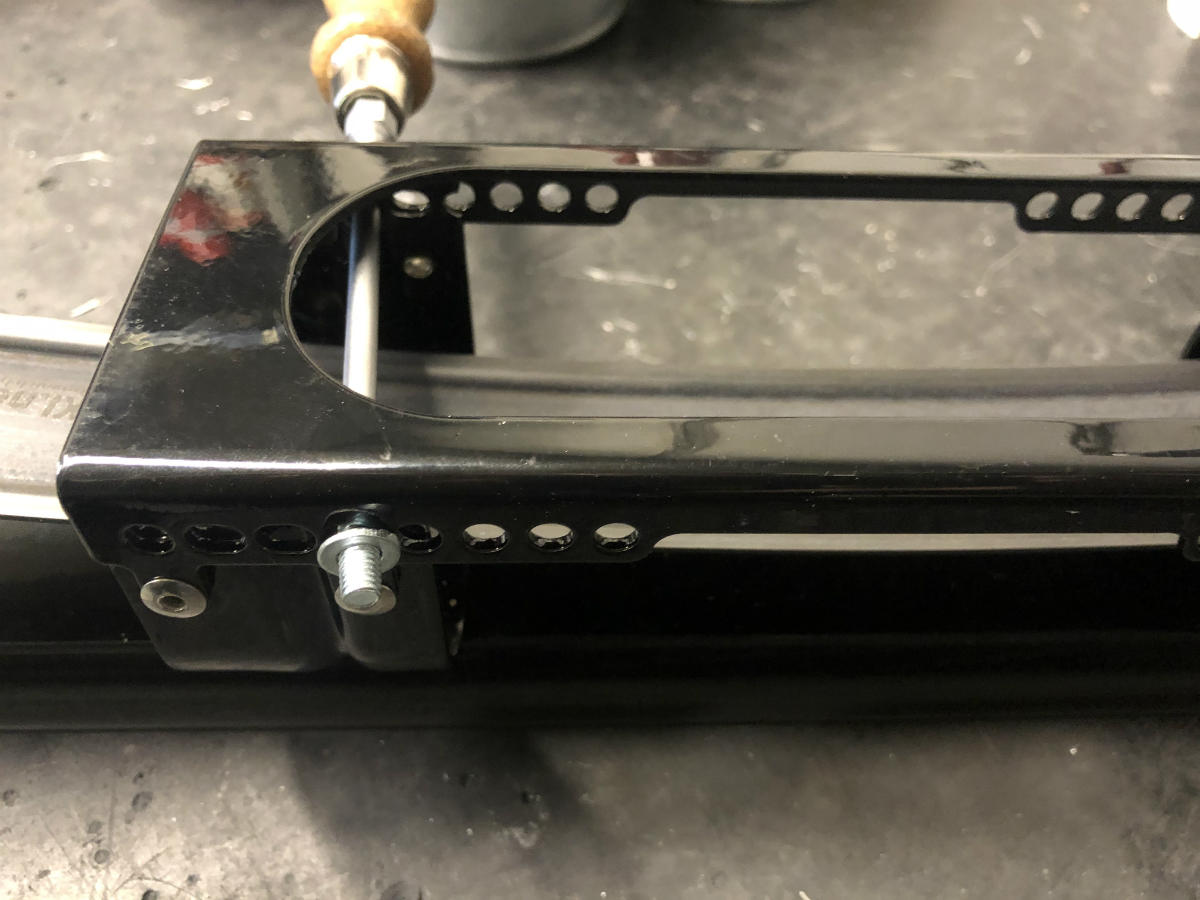
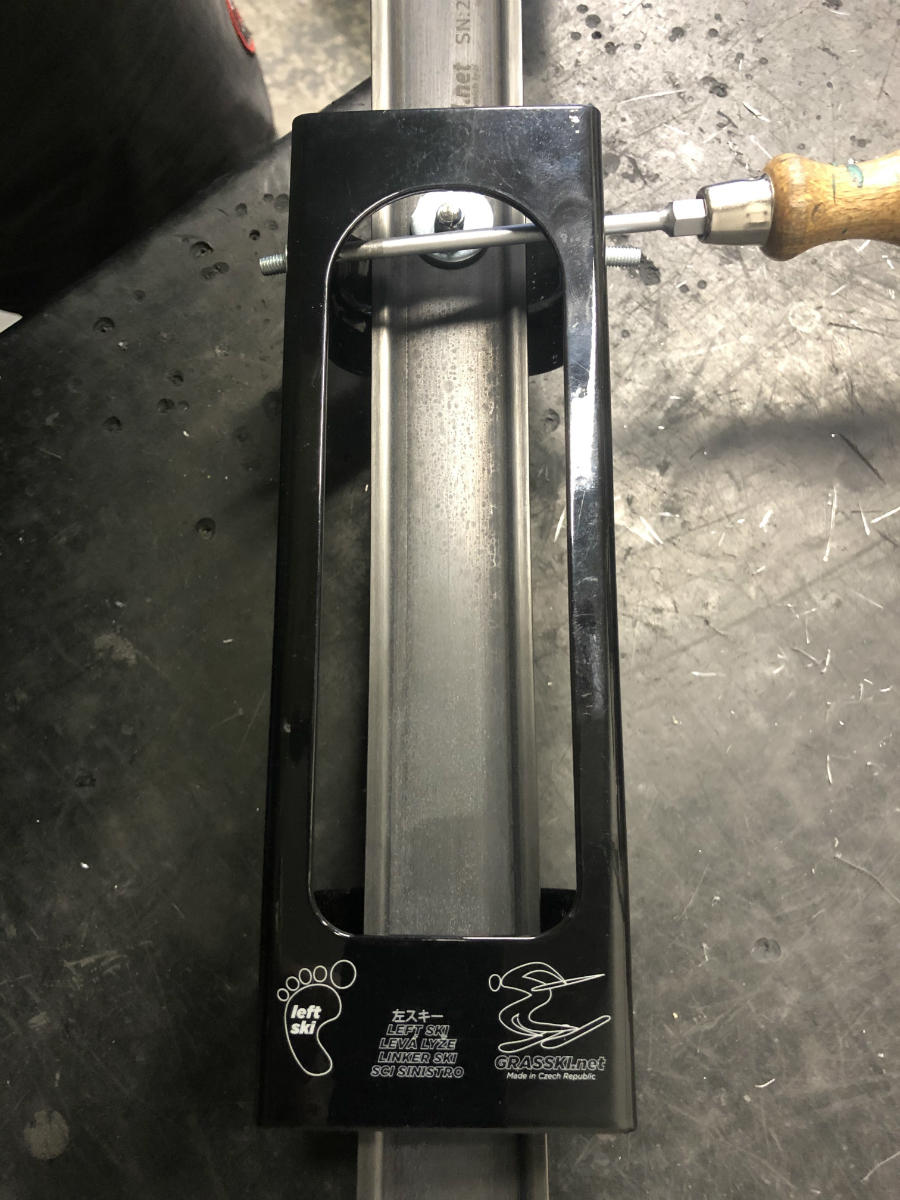
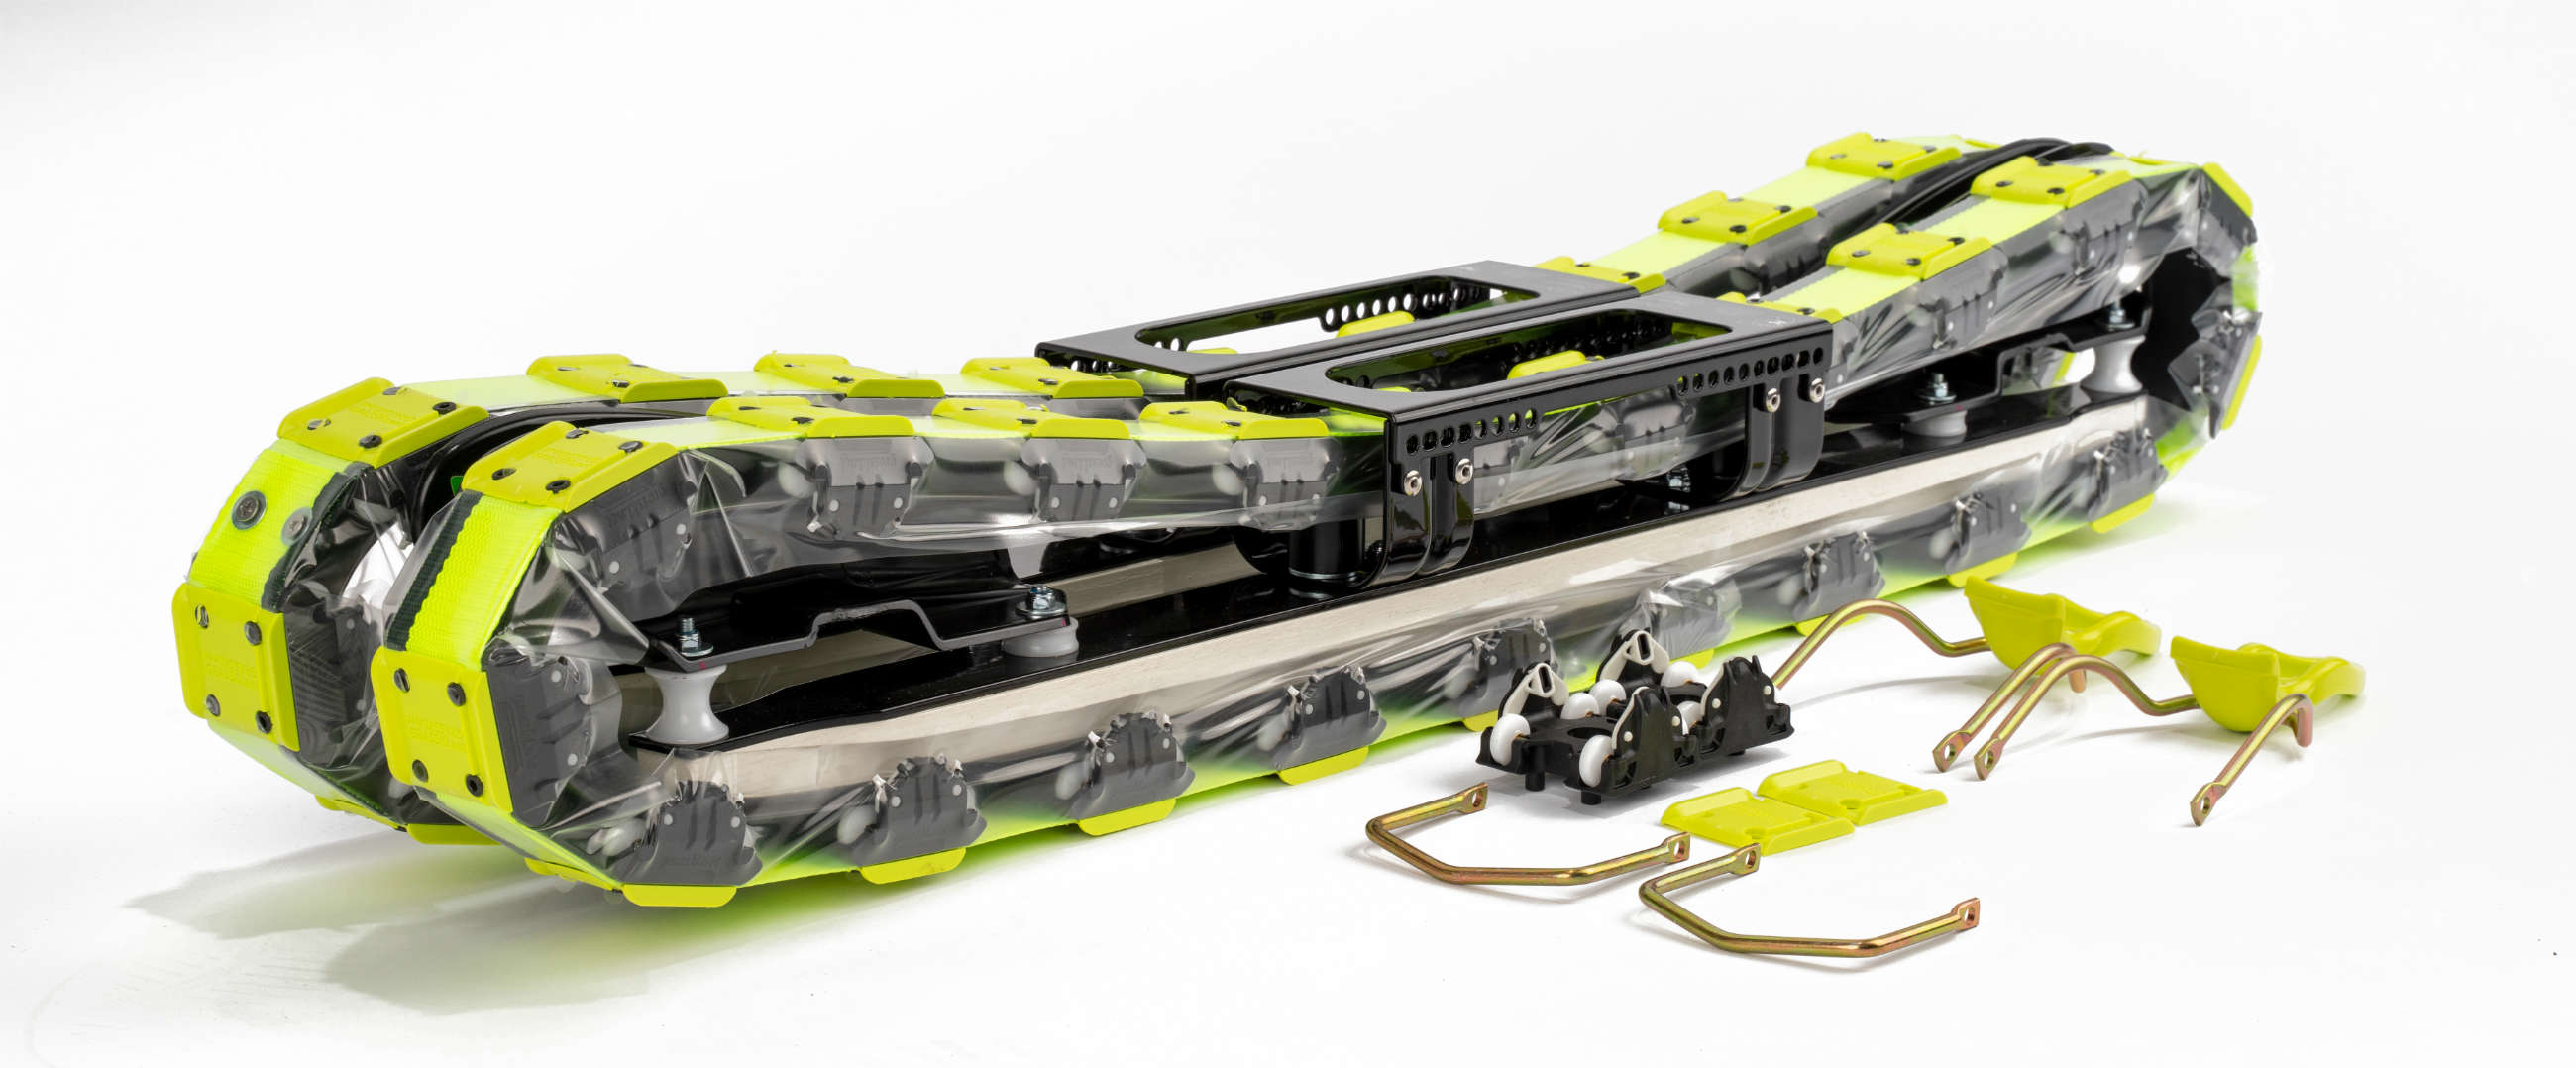
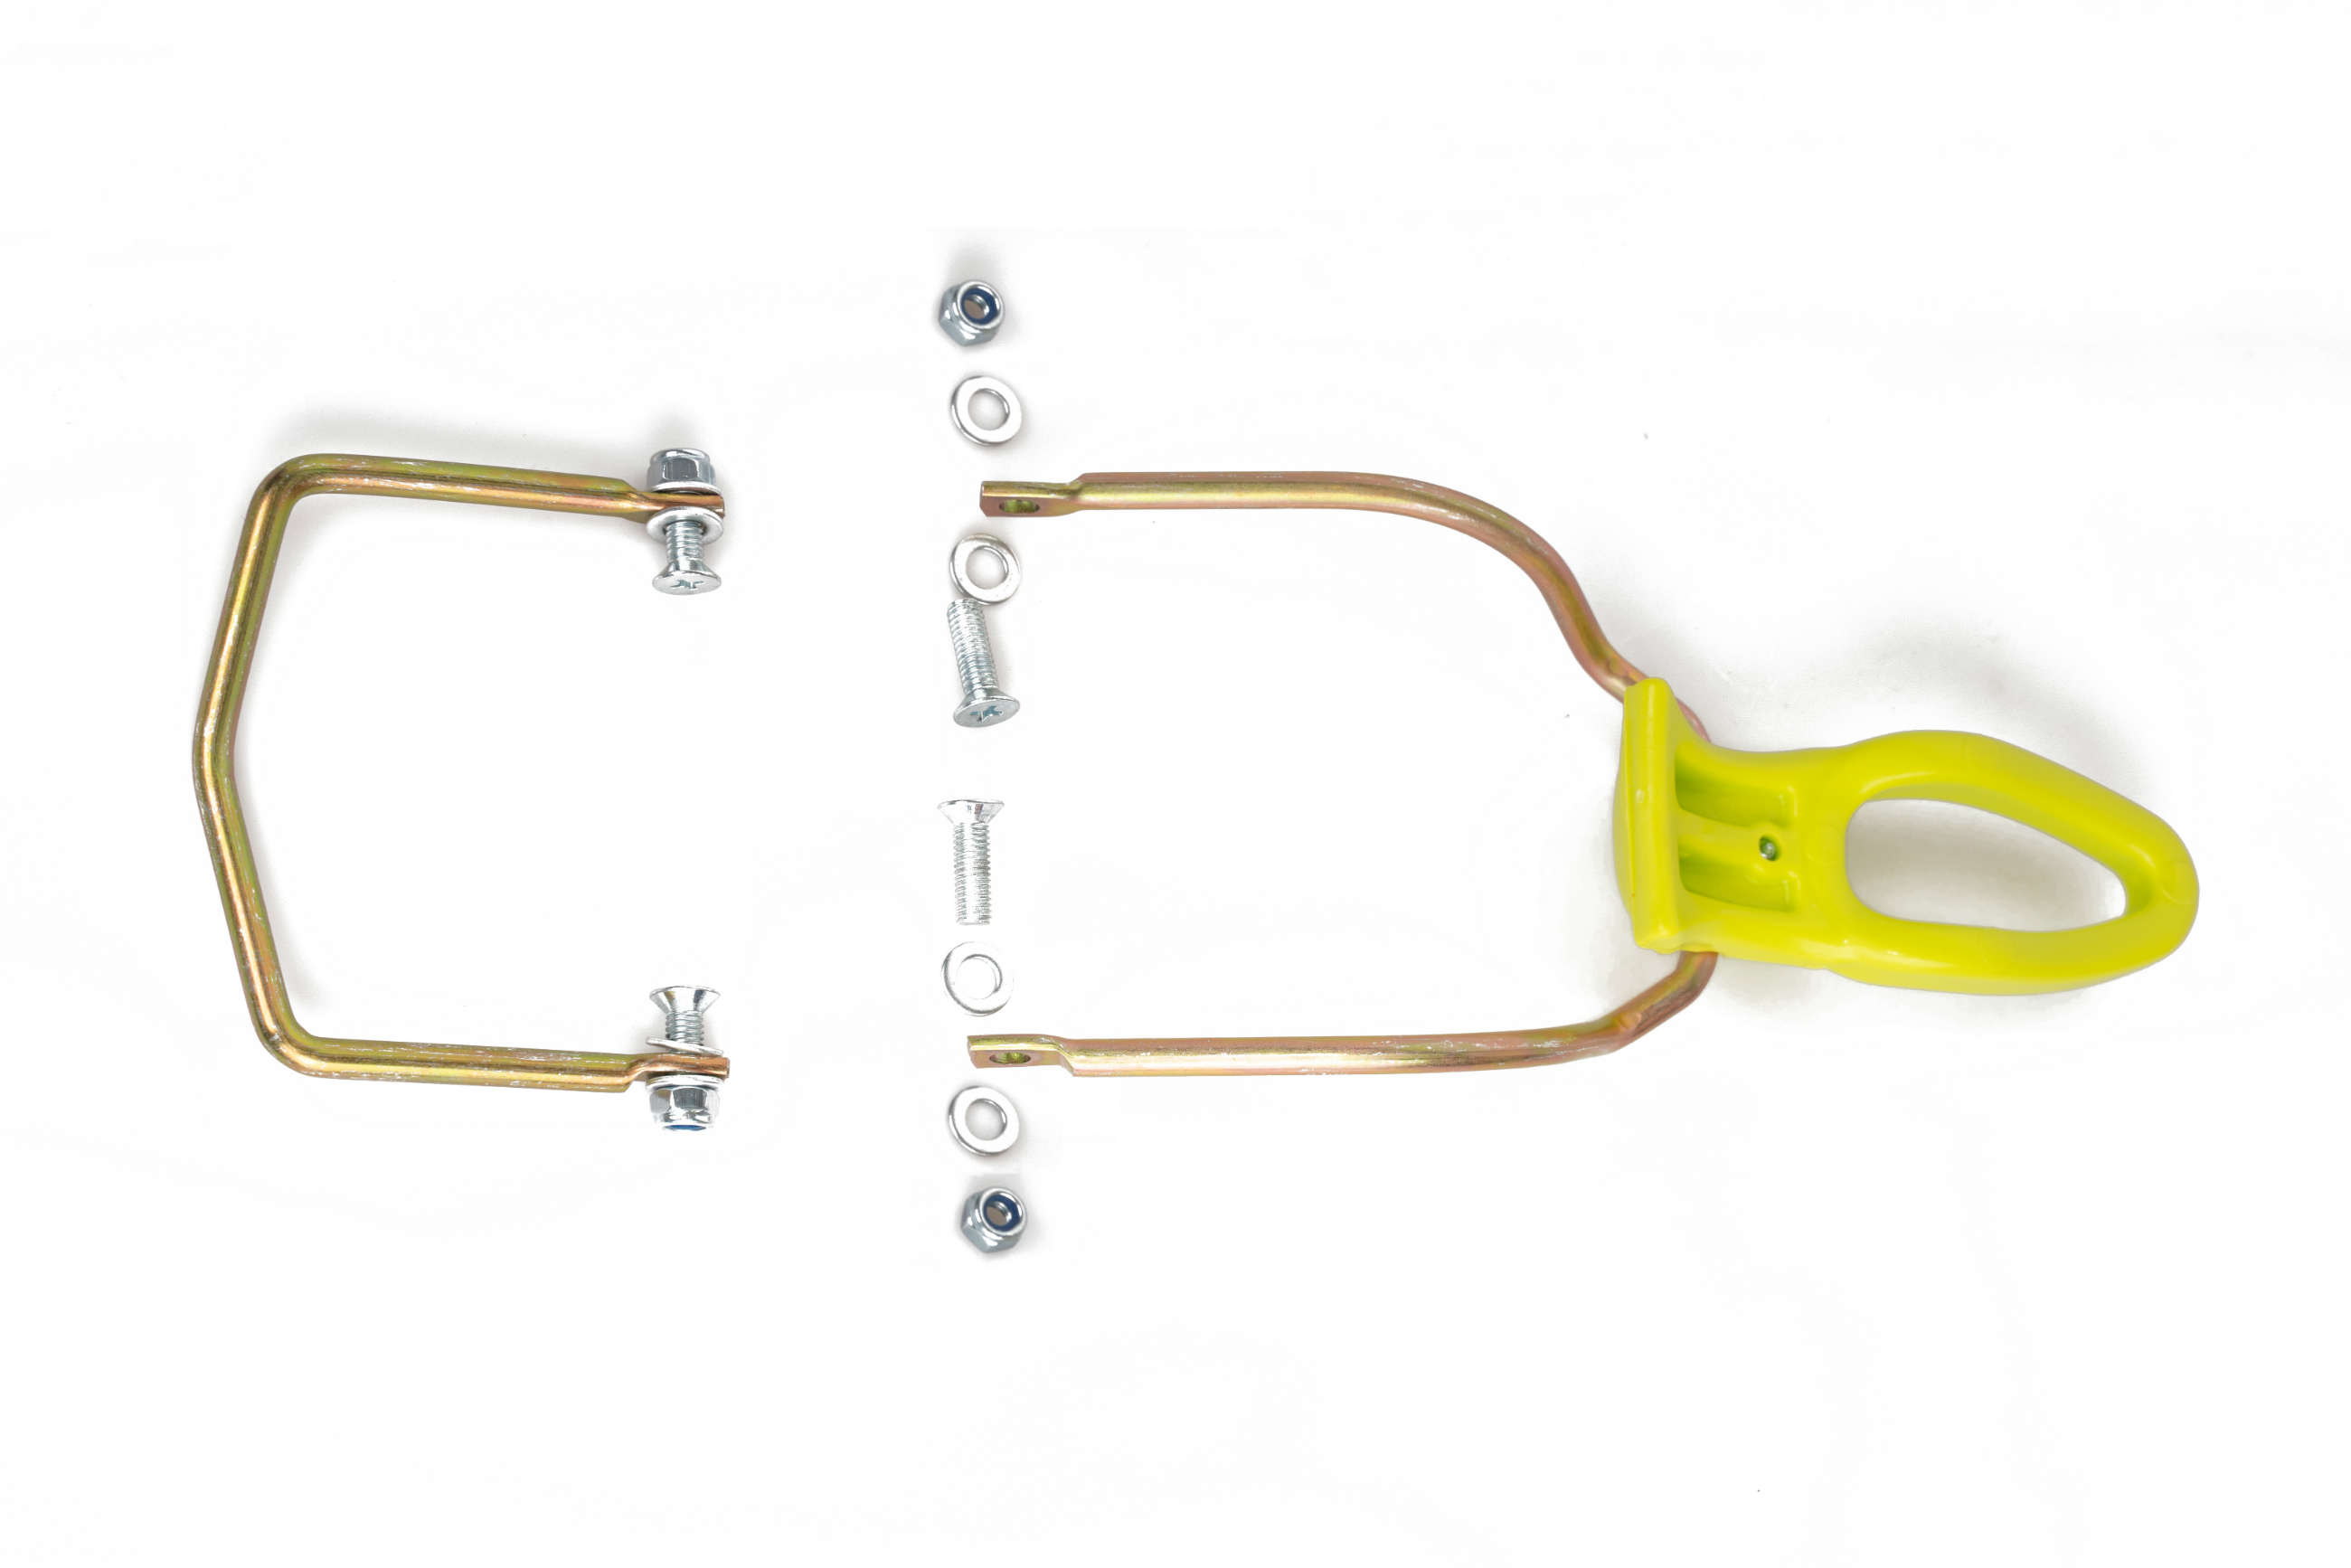
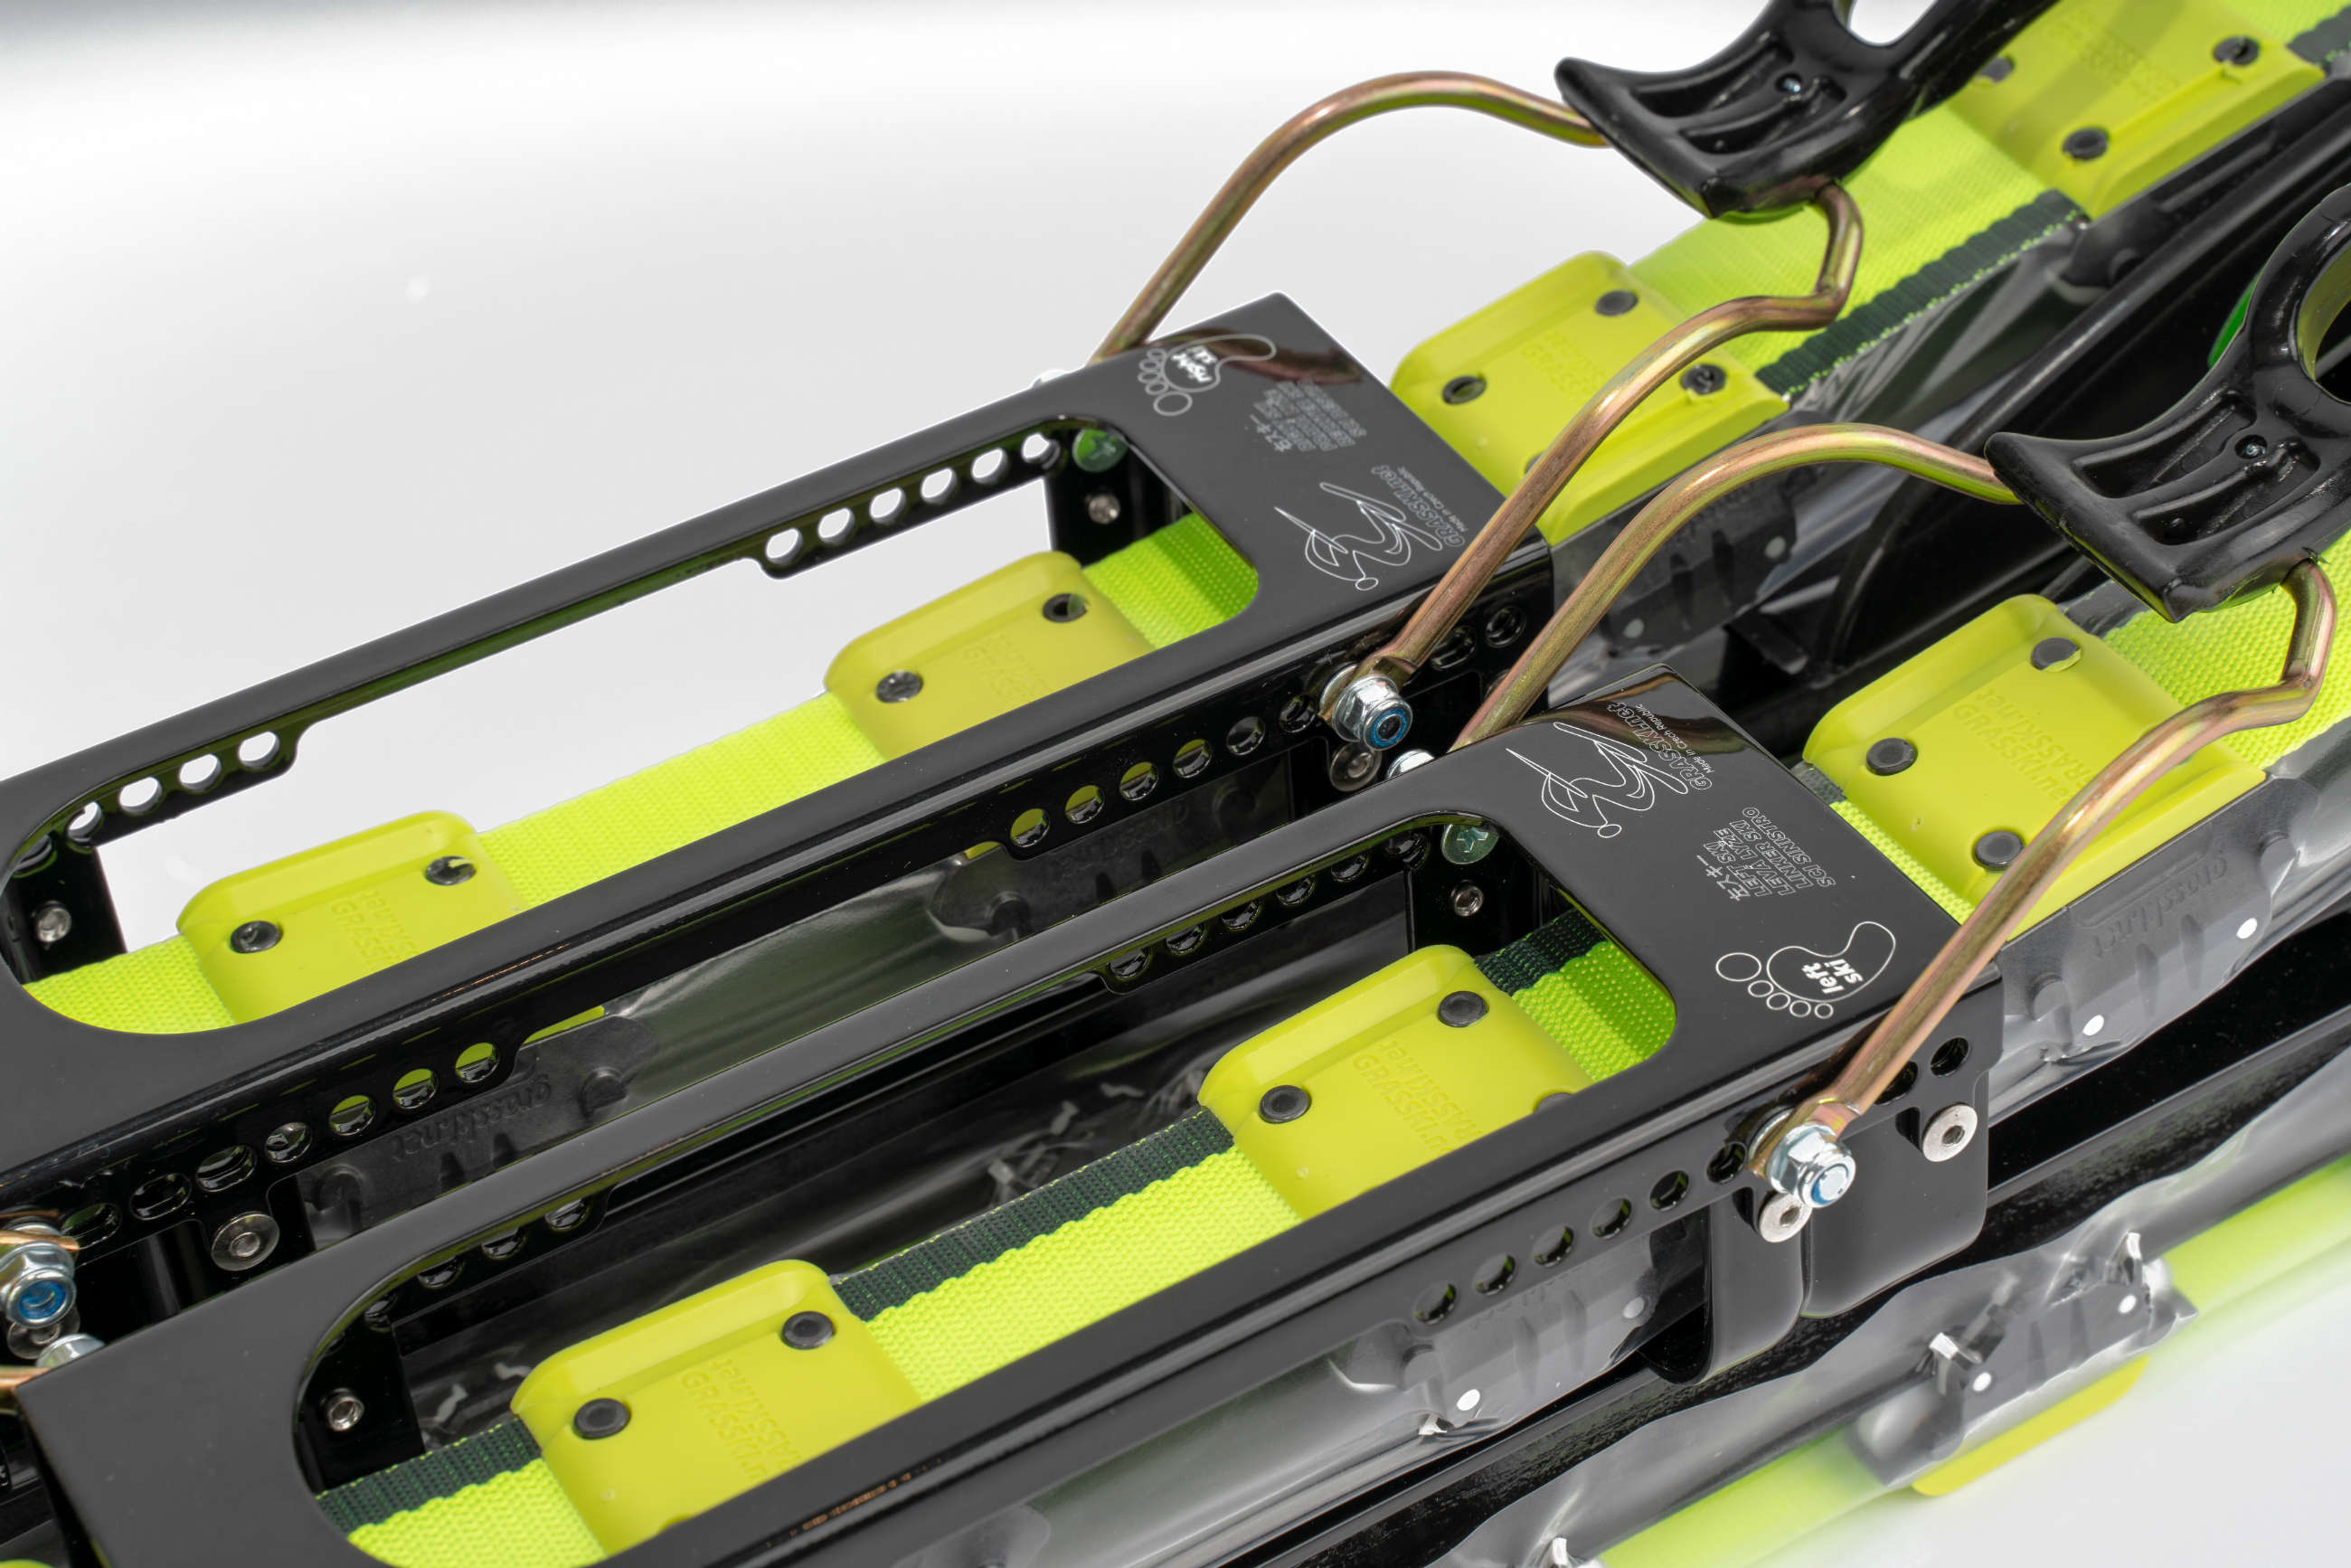
Start with the front hook. From inside the binding channel, feed the screws through the holes. From outside, slide on the washer, then the binding hook, then thread on the nut finger-tight.
2
Mount the rear hook. The rear hook has a plastic component on it — this is the part that grips the heel of the boot. Same order: screw from inside, washer + hook + nut from outside. Make sure the heel sits firmly in its intended position before tightening.
3
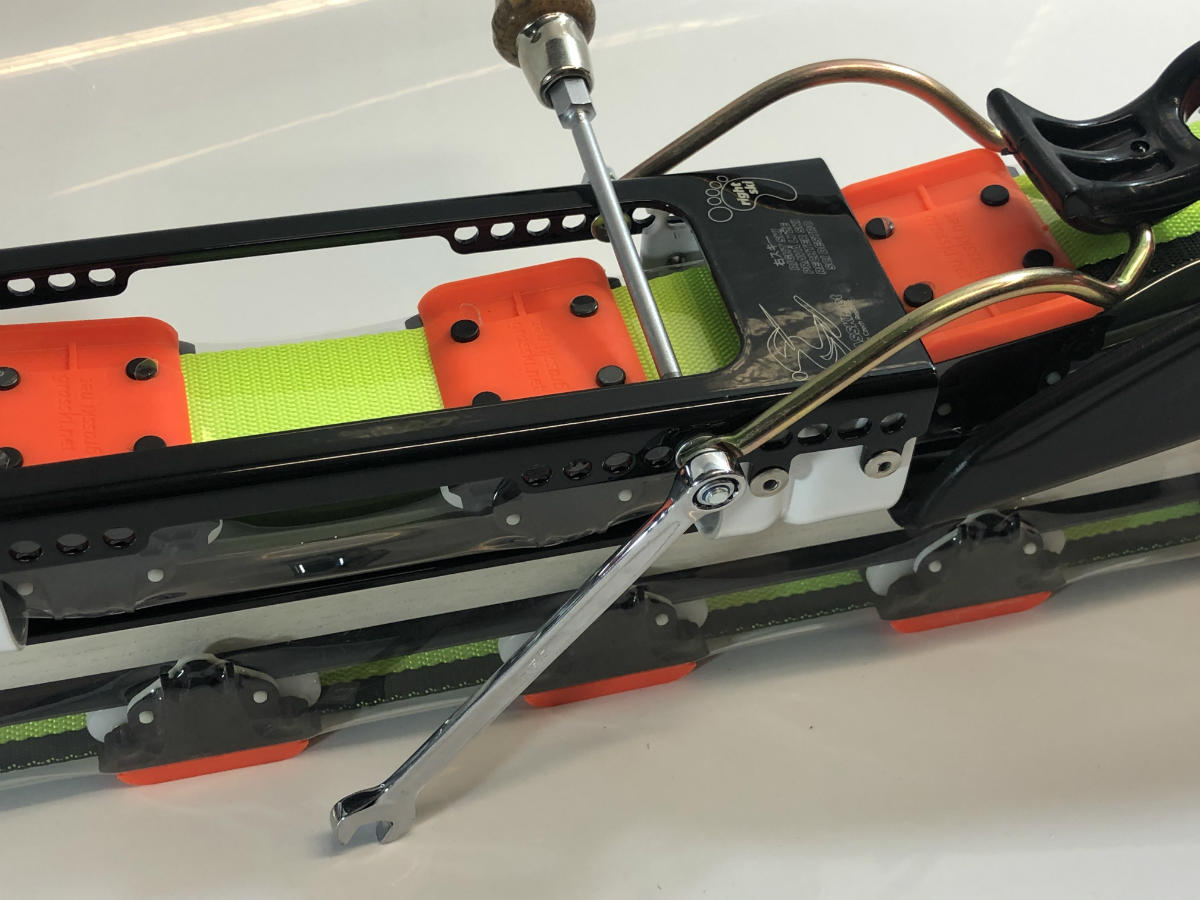
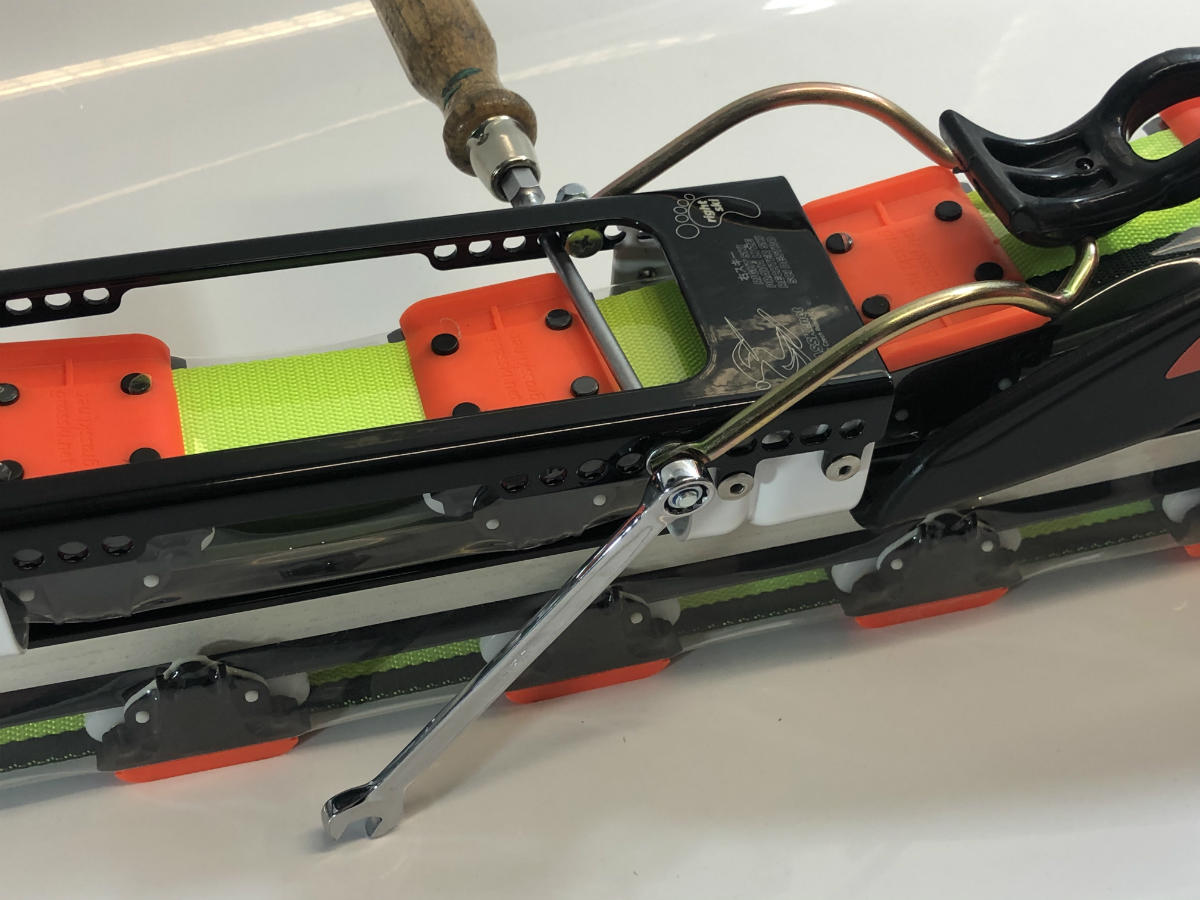
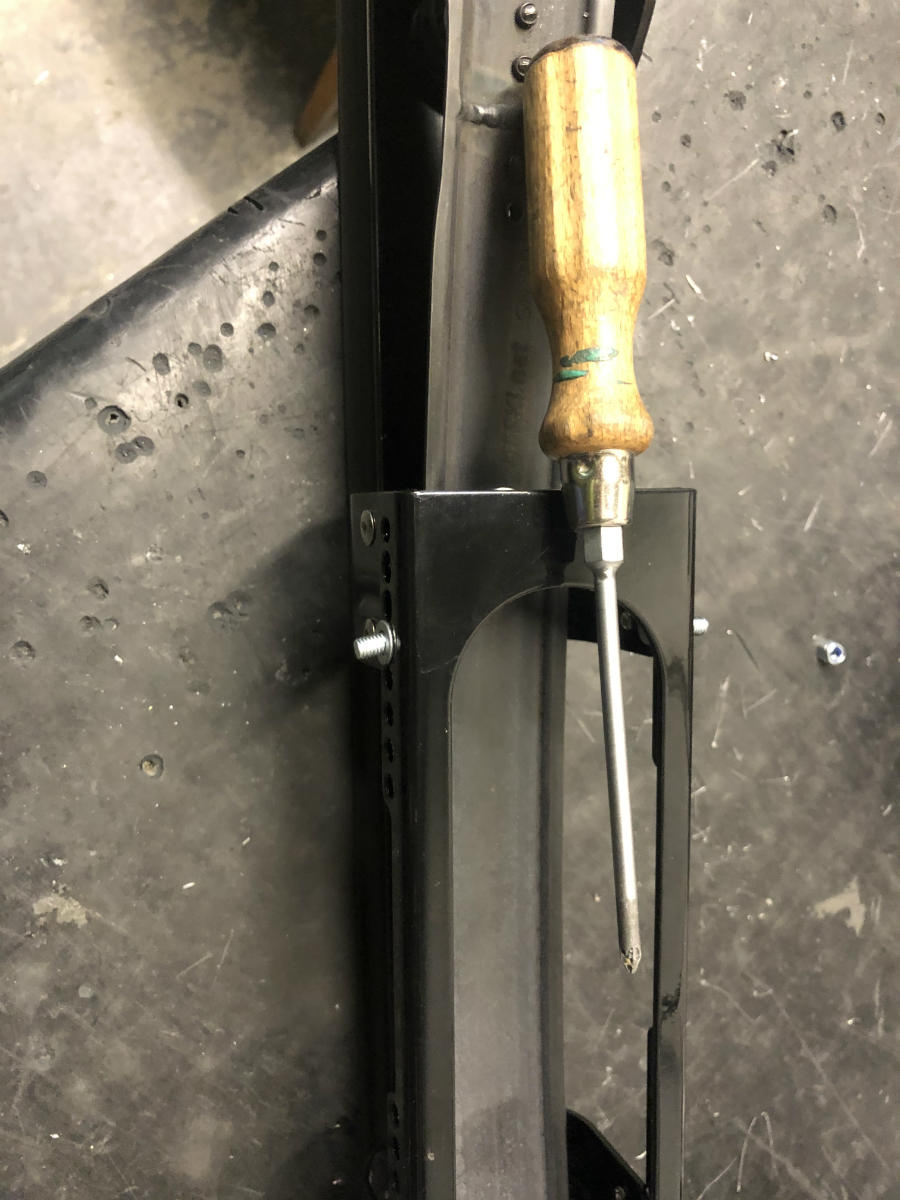
Tighten all screws. Hold the nut steady with the 8 mm hex key while turning the Phillips screwdriver. Work in a cross pattern — snug up all screws before fully tightening any of them.
Check the binding tension before skiing. Once assembled, the binding should be noticeably stiff to open and close — it should require deliberate effort. If it opens easily, the screws are not tight enough and the binding could release during a run.
Patience tip: Threading the screws from inside the binding channel is the trickiest part — it is a bit like threading a needle. A magnetic screwdriver tip helps enormously. Take your time on the first ski; the second one will go much faster.
Video guide
Photo step-by-step
Click any image to enlarge. Work through photos left to right, top to bottom.
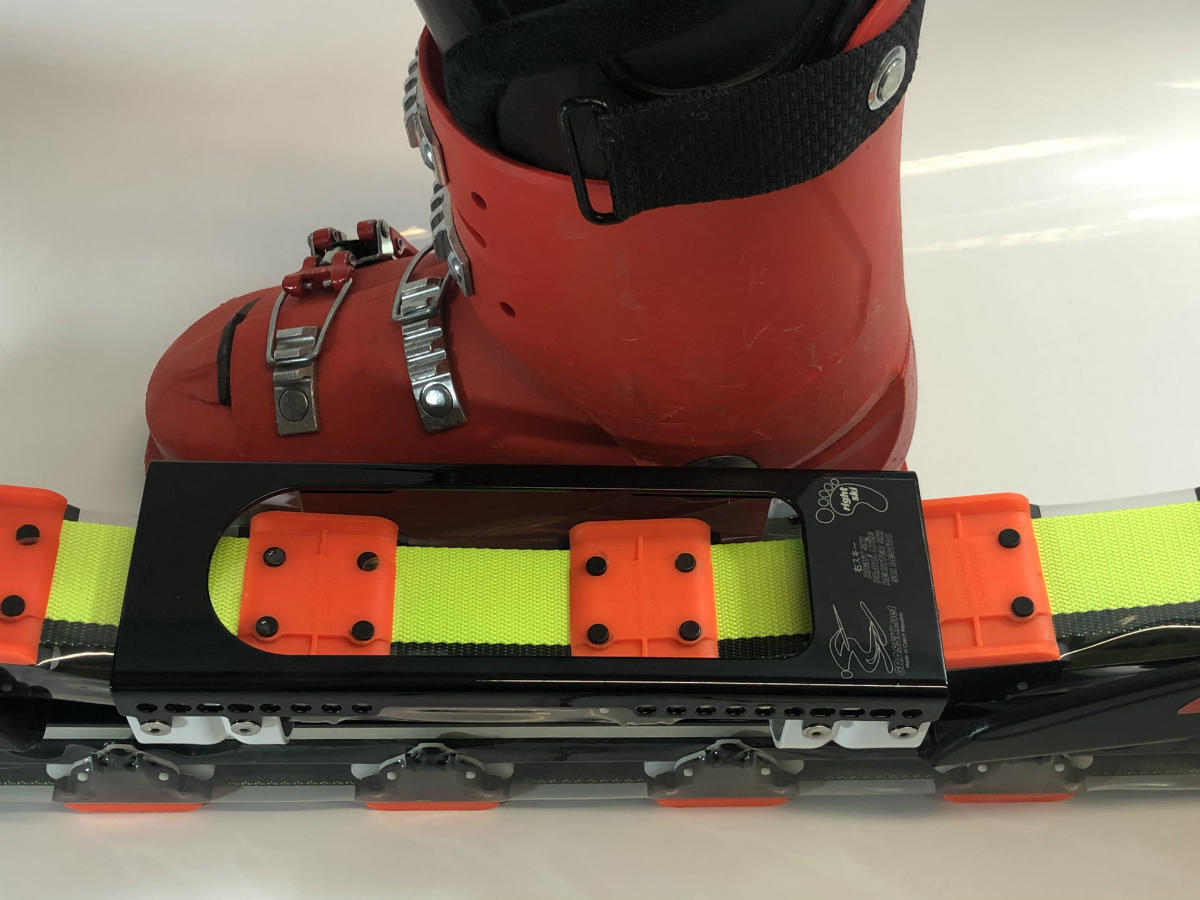
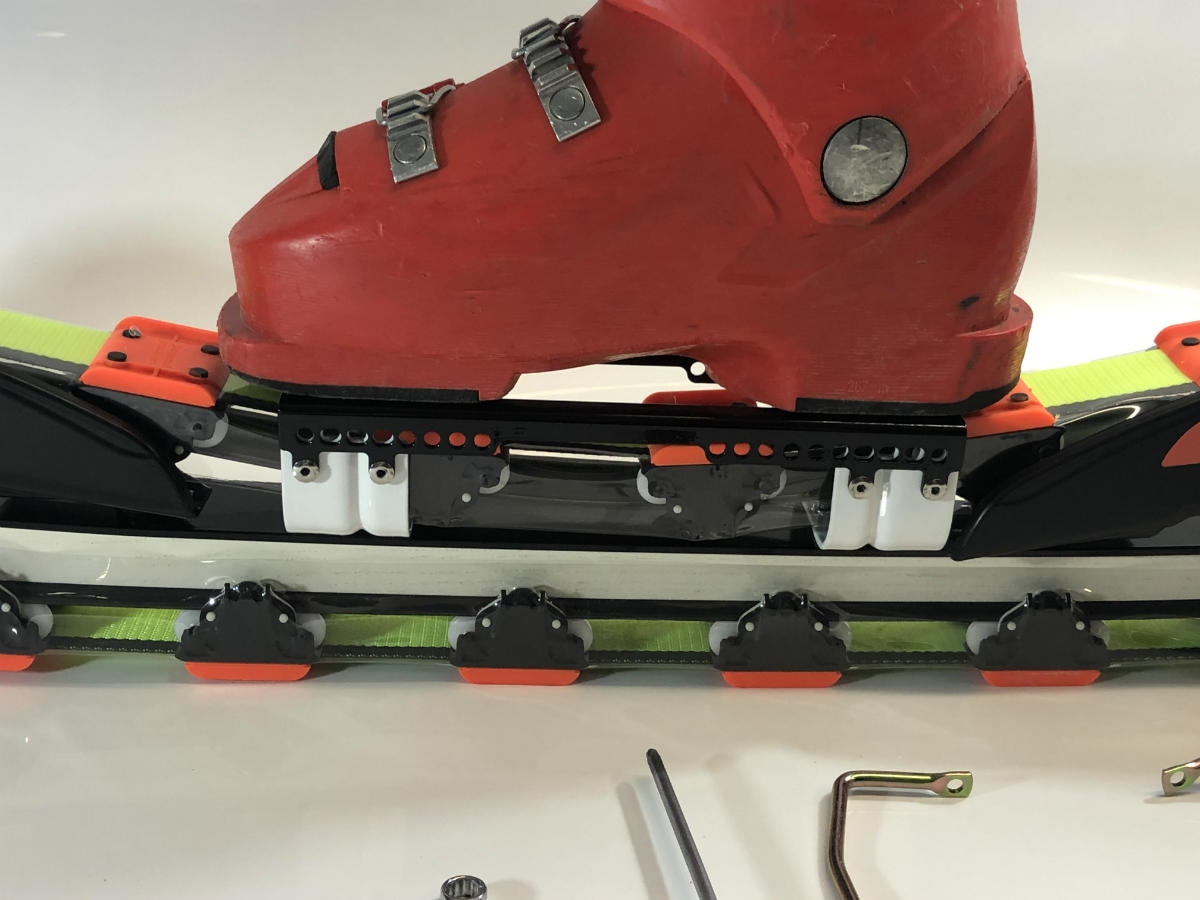
Close-up details
Detailed views of key connection points — useful if you get stuck during assembly.
Still stuck?
If you have worked through the photos and video and something still does not look right, send us a photo of where you are and we will help you out.
Contact us